The Prototyping Decision Every Engineer Faces
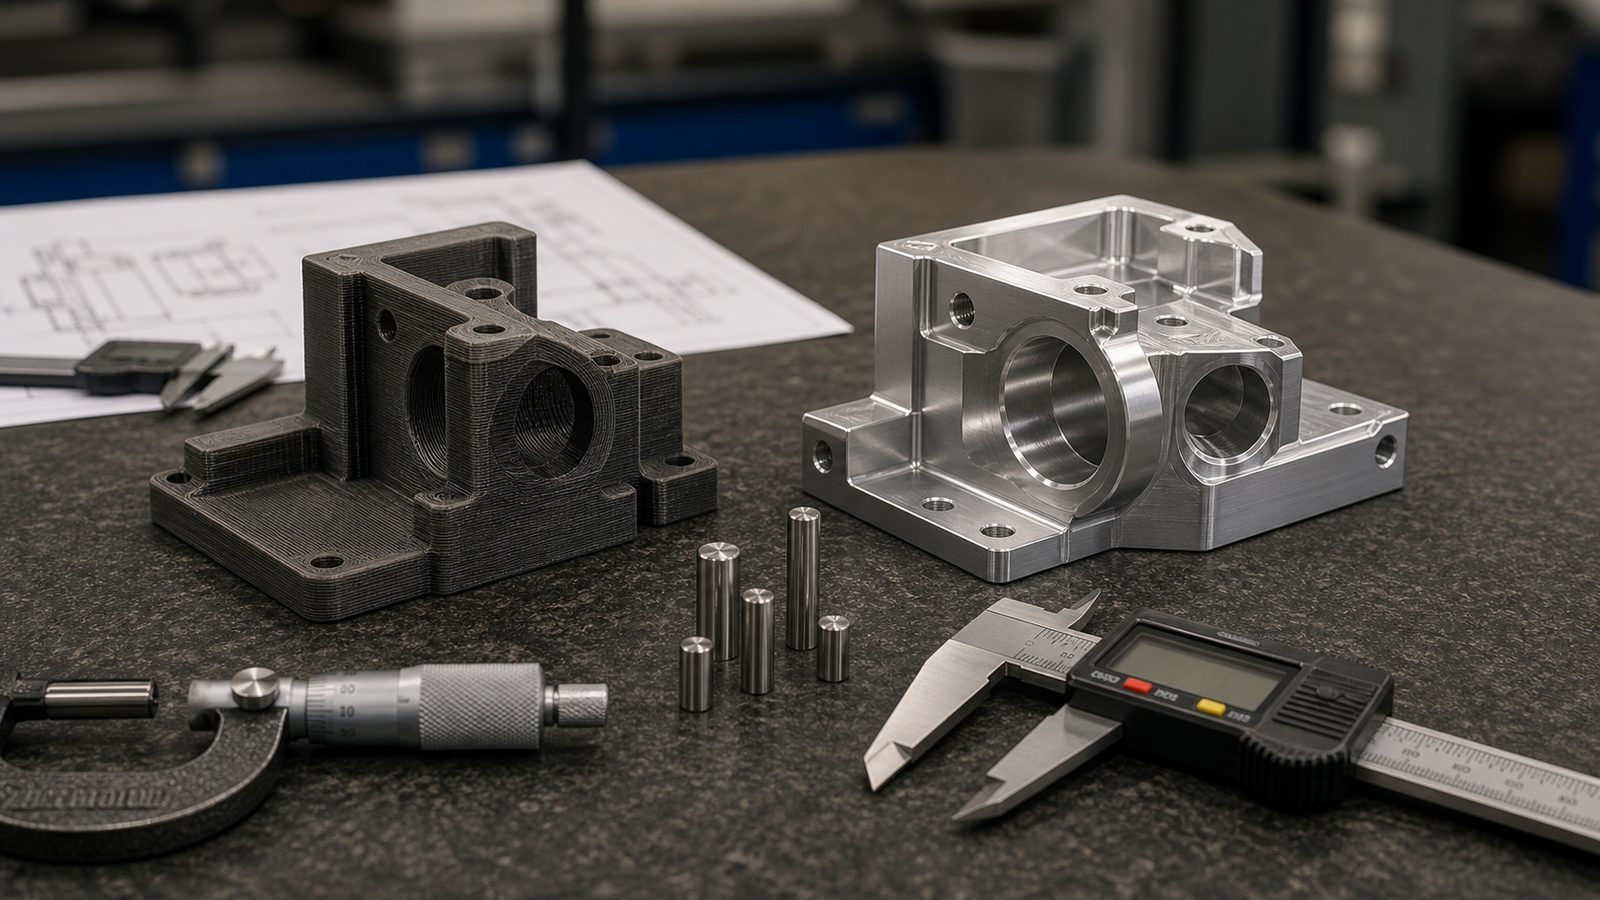
You have a new design. You need a physical prototype. Do you 3D print it or CNC machine it? This question comes up on every hardware project and the answer is never one-size-fits-all. It depends on what you are testing, what material you need, how tight your tolerances are and what happens after the prototype.
Both processes turn a CAD file into a physical part. But they work in fundamentally different ways and those differences determine which method gives you the most useful prototype for the least money and time.
This guide walks through every factor that matters -- materials, tolerances, surface finish, cost, lead time and design constraints -- so you can make the right call on your next project. If you are already deep into rapid prototyping, this will sharpen your decision framework.
The best prototype is not the cheapest or the fastest. It is the one that answers your engineering question. Sometimes that means a $20 3D print. Sometimes it means a $300 CNC part. Picking wrong wastes more money than either option costs.
How Each Process Works
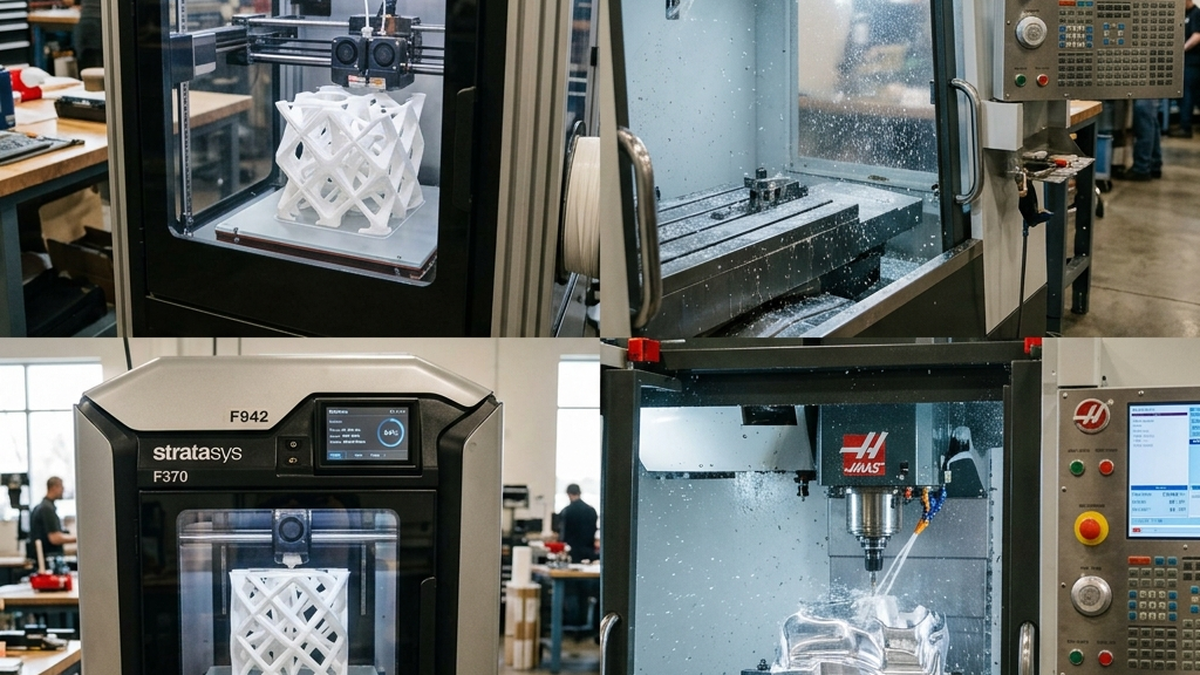
3D Printing (Additive Manufacturing)
3D printing builds a part layer by layer from the bottom up. The machine deposits or solidifies material one thin layer at a time, typically 0.001 to 0.010 inches thick. No tooling, no fixtures, no setup beyond slicing the file and orienting the part on the build plate.
The most common 3D printing technologies for prototyping are:
- FDM (Fused Deposition Modeling): Melts and extrudes thermoplastic filament. Cheapest option. Best for form checks and rough functional tests. Materials include PLA, ABS, PETG and nylon.
- SLA (Stereolithography): Cures liquid resin with a UV laser. Produces smooth surfaces and fine details. Good for visual prototypes and small features. More brittle than FDM parts.
- SLS (Selective Laser Sintering): Fuses nylon or TPU powder with a laser. No support structures needed. Strong parts with good dimensional accuracy. The closest to functional 3D printed prototypes.
- DMLS/SLM (Direct Metal Laser Sintering): Fuses metal powder layer by layer. Produces real metal parts in titanium, stainless steel, aluminum and Inconel. Expensive, but the only additive option for true metal prototypes.
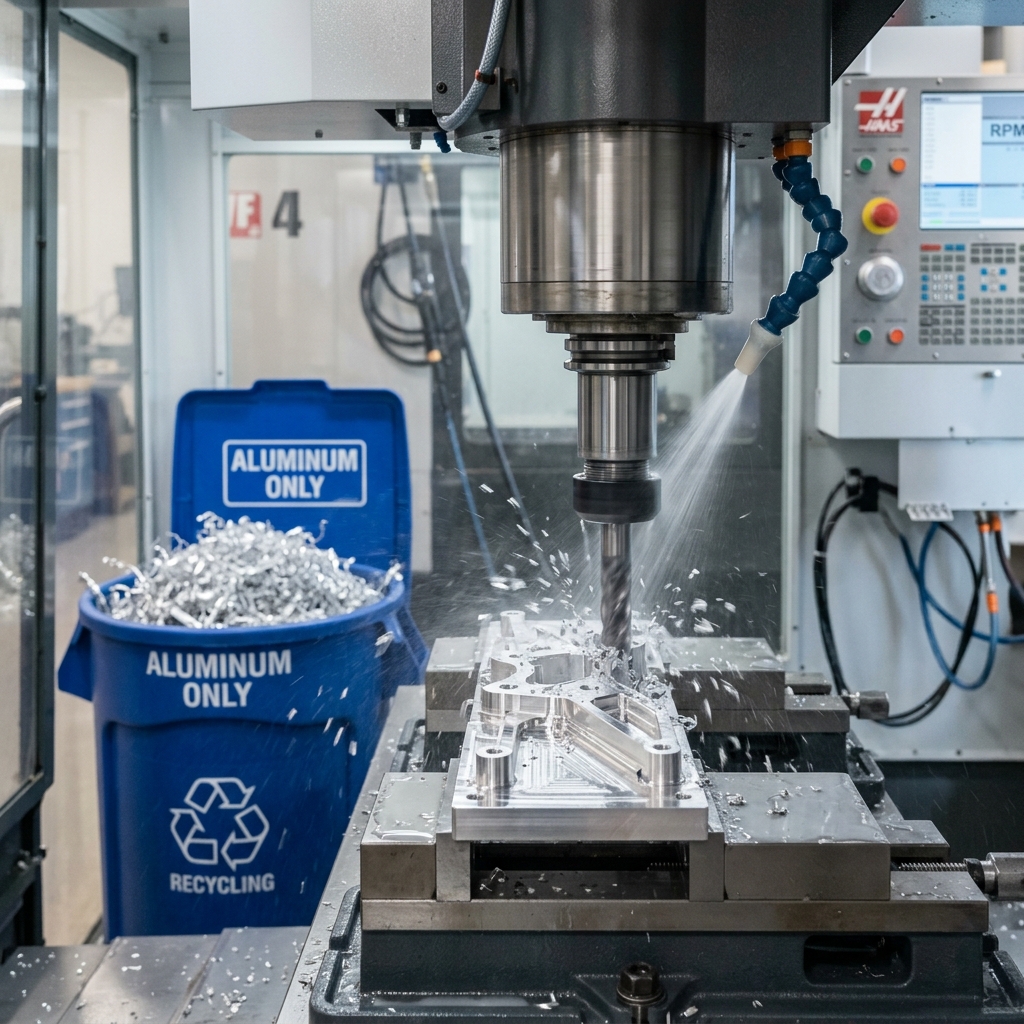
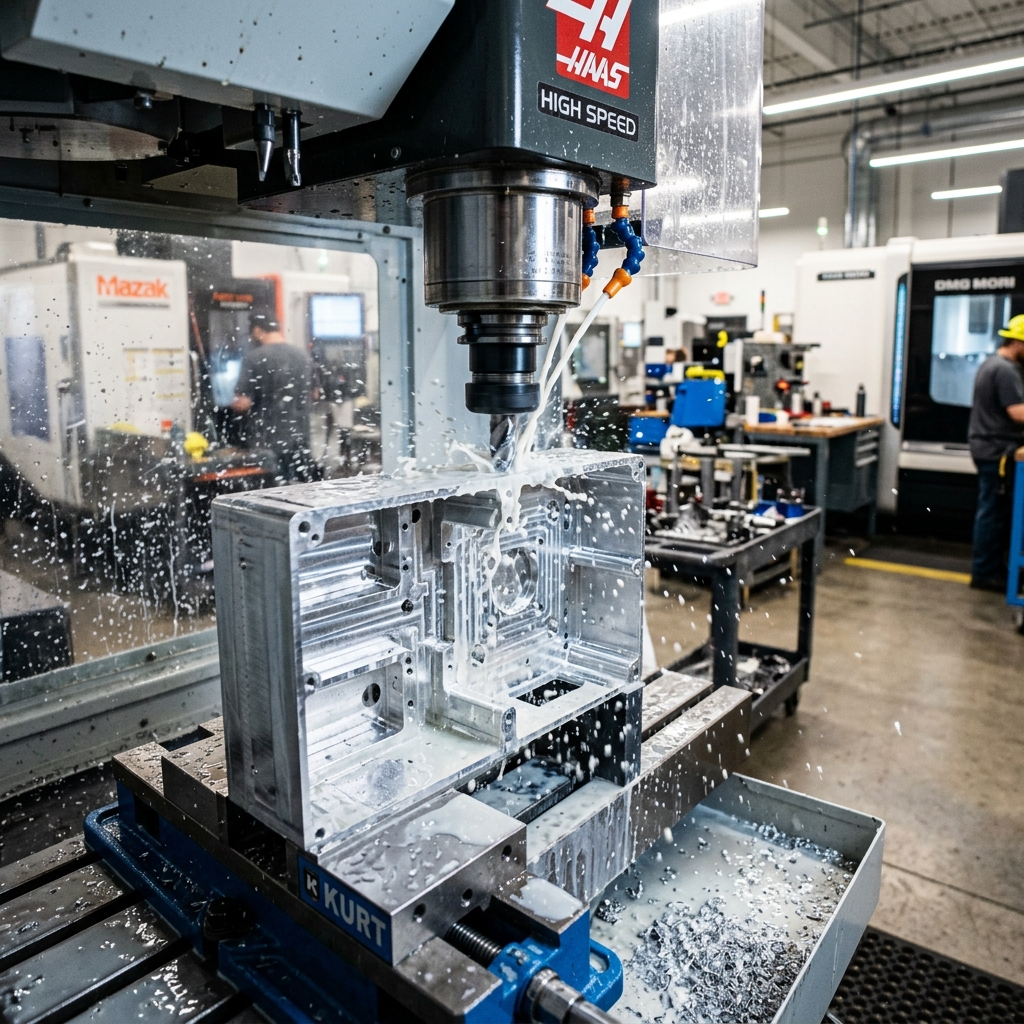
CNC Machining (Subtractive Manufacturing)
CNC machining starts with a solid block of material and removes everything that is not the part. A spinning cutting tool follows programmed toolpaths to mill, drill, bore and contour the workpiece. The result is a part made from the same material you will use in production.
For prototyping, CNC machining means:
- CNC Milling: 3-axis, 4-axis, or 5-axis mills handle most prototype geometries. The part is fixtured on a table while rotating cutters remove material.
- CNC Turning: For cylindrical parts, a lathe spins the workpiece while a cutting tool shapes it. Ideal for shafts, bushings and round housings.
- Wire EDM: For extremely tight tolerances or hard materials. Uses electrical discharge to cut complex profiles.
The key difference: 3D printing adds material. CNC machining removes it. This fundamental distinction drives every other comparison in this guide.
Need a prototype fast?
Upload your CAD file and get an instant quote for CNC machined prototypes. Parts ship in as few as 3 days.
Get an Instant Quote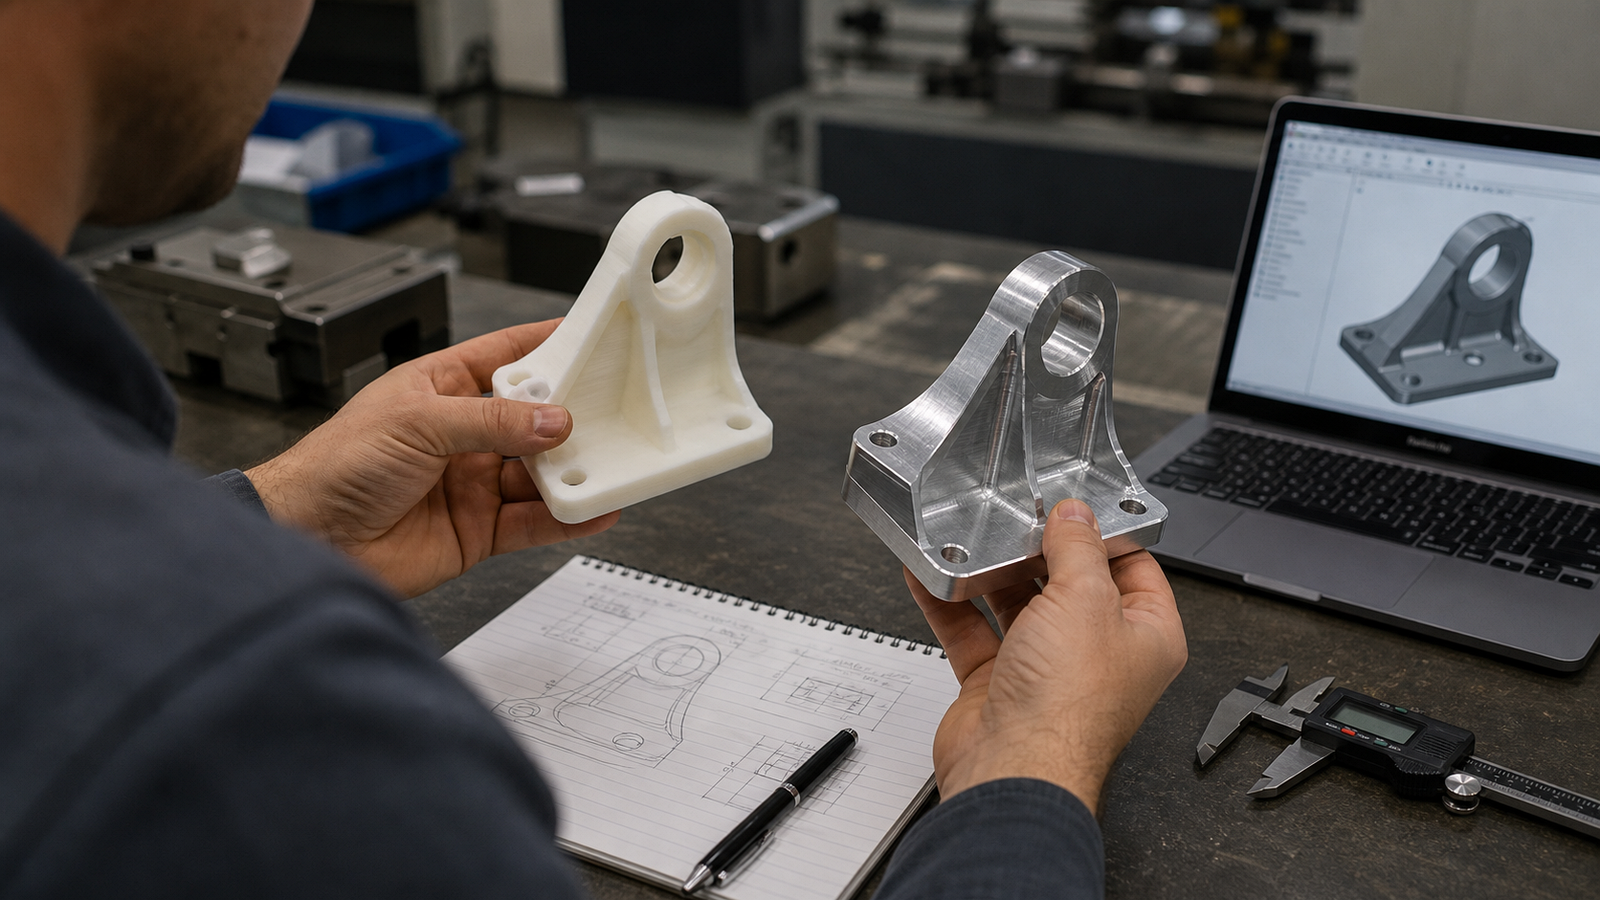
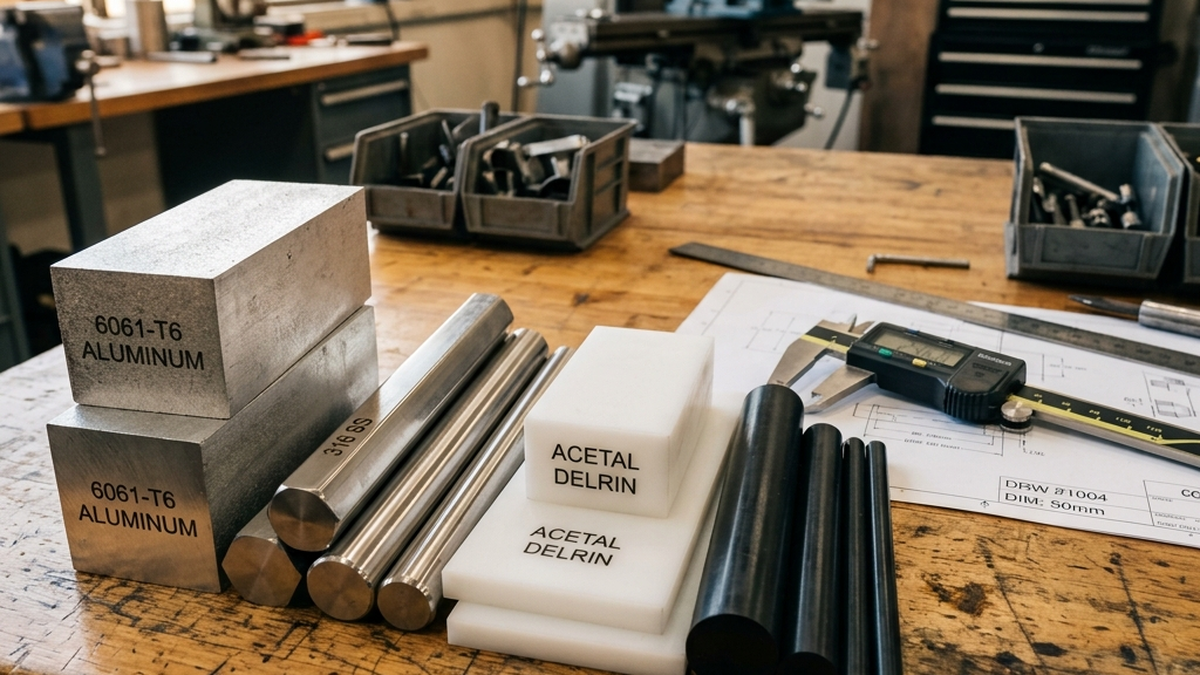
Material Comparison
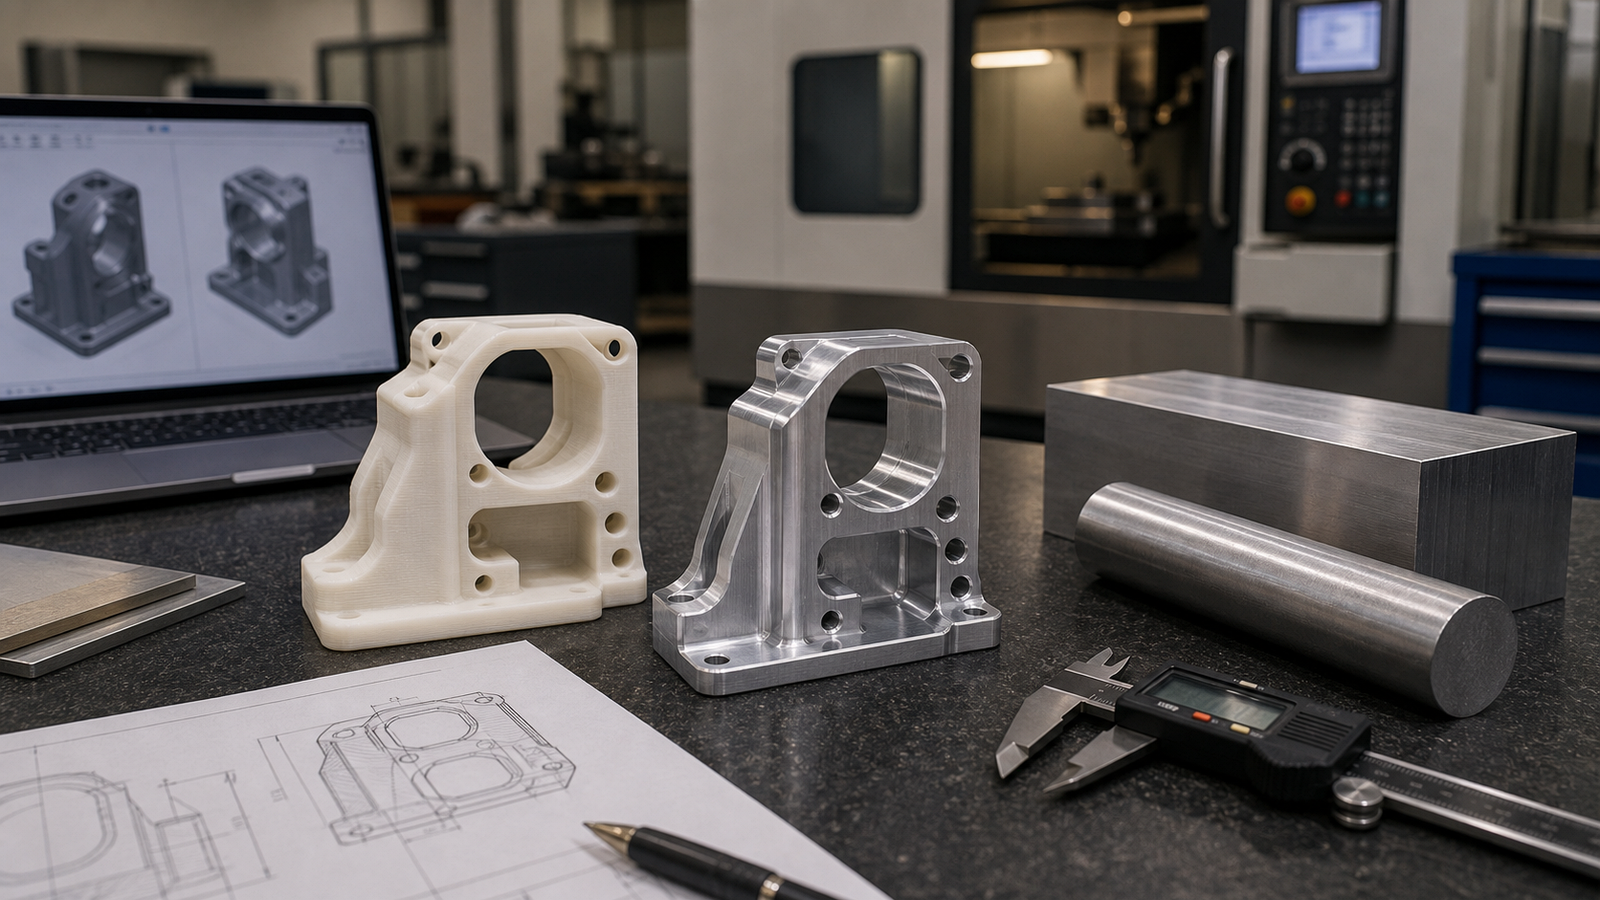
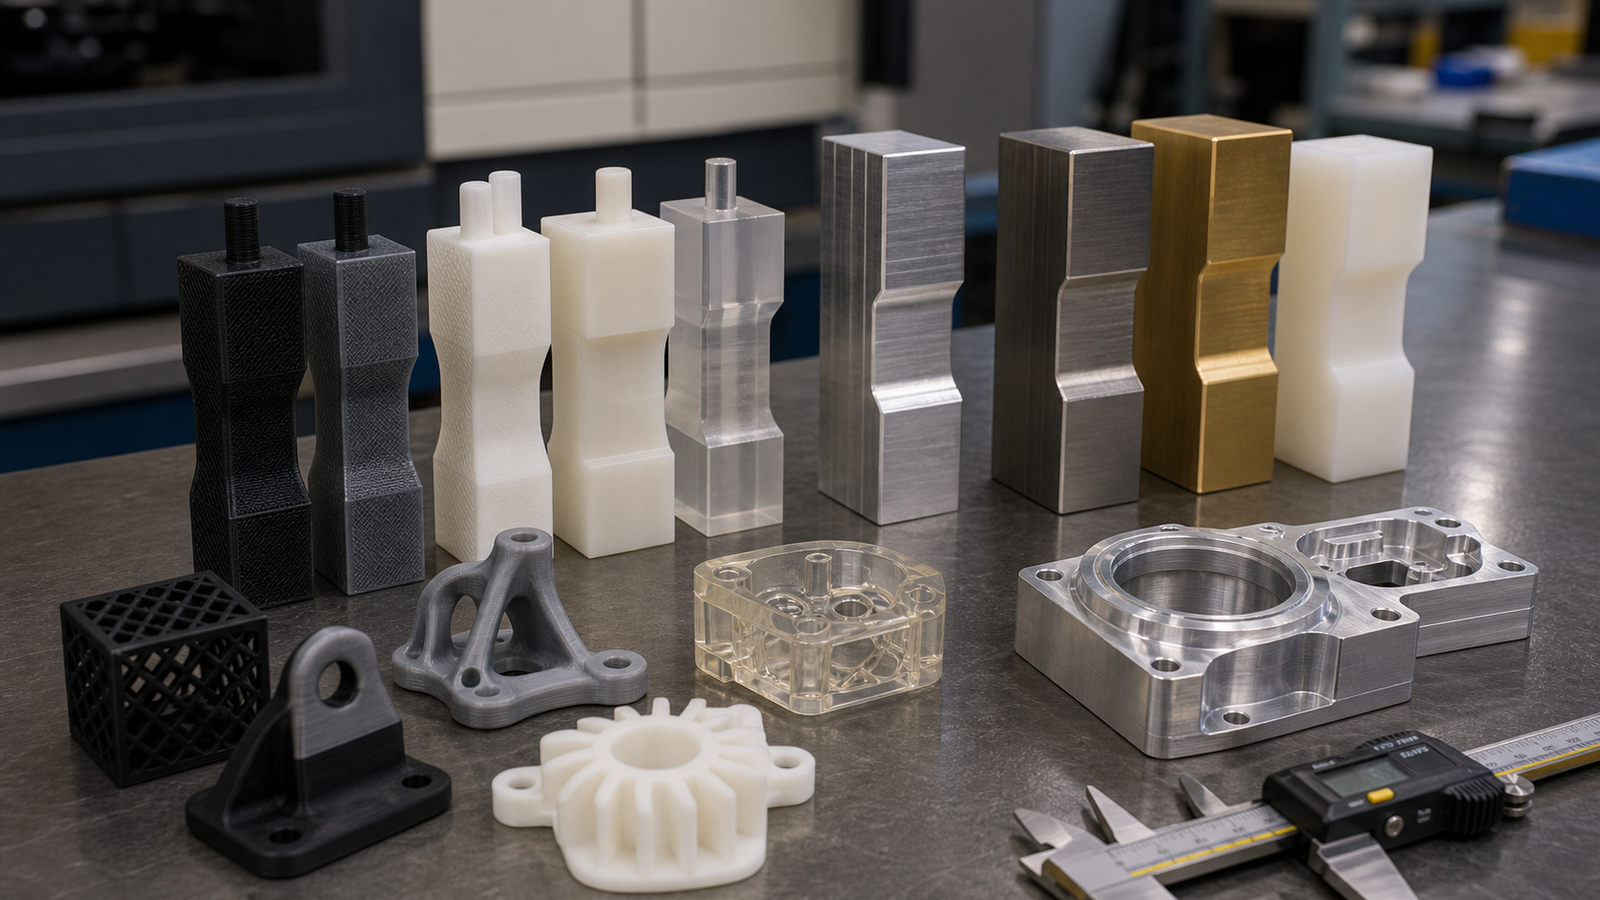
This is where CNC machining has its biggest advantage. CNC machines cut real engineering materials -- the same alloys, plastics and composites you will use in production. 3D printing is limited to materials that can be deposited or sintered layer by layer and those materials behave differently than their wrought or cast equivalents.
| Factor | 3D Printing | CNC Machining |
|---|---|---|
| Metals | Limited: 316L SS, Ti-6Al-4V, AlSi10Mg, Inconel 718 (DMLS only, expensive) | Full range: 6061, 7075, 303/304/316 SS, titanium, brass, copper, Inconel, tool steel |
| Plastics | PLA, ABS, nylon, PETG, PC, TPU, photopolymer resins | Delrin, PEEK, UHMW, polycarbonate, nylon, acetal, ABS, acrylic |
| Material properties | Anisotropic (weaker between layers). Properties depend on print orientation | Isotropic. Full material properties as published by the supplier |
| Material certification | Rarely available. Powder batch certs possible for DMLS | Full mill certs and heat lot traceability available on every order |
| Production equivalence | Printed parts do not match injection molded or machined properties | CNC prototype is identical to CNC production part |
If your prototype needs to perform like the production part, CNC machining is the only way to get there. A 3D printed aluminum (AlSi10Mg) part does not have the same strength, fatigue life, or thermal conductivity as a machined 6061-T6 part. The alloy is different, the microstructure is different and the mechanical properties are different.
For a deeper dive into prototyping material options, see our rapid prototyping and 3D printing pillar page, which covers material selection for both processes.
Tolerance and Accuracy
Tolerances determine whether your prototype fits, functions and tells you something useful. Here is how the two methods compare:
| Process | Typical Tolerance | Best Achievable | Best For |
|---|---|---|---|
| FDM | ±0.010" | ±0.005" | Form checks, non-critical fits |
| SLA | ±0.005" | ±0.002" | Detail models, visual prototypes |
| SLS | ±0.005" | ±0.003" | Functional nylon parts, snap fits |
| DMLS (metal) | ±0.005" | ±0.002" | Complex metal geometries |
| CNC Milling | ±0.002" | ±0.0005" | Precision fits, mating surfaces, functional testing |
| CNC Turning | ±0.001" | ±0.0005" | Shafts, bores, cylindrical features |
The gap is significant. CNC machining delivers 5 to 10 times tighter tolerances than most 3D printing processes. If your prototype has mating surfaces, press fits, bearing bores, or any feature where a few thousandths of an inch matters, CNC is the answer.
3D printing tolerances also degrade with part size. A small feature on a large SLS print might be off by 0.015 inches or more due to thermal warping and shrinkage. CNC tolerances remain consistent regardless of part size because the machine is cutting to programmed coordinates.
Surface Finish
Surface finish affects both aesthetics and function. Sealing surfaces, bearing journals and mating faces all require controlled surface roughness.
| Process | As-Built Finish (Ra) | Post-Processing Options |
|---|---|---|
| FDM | 200-500 microinches (visible layer lines) | Sanding, vapor smoothing, painting |
| SLA | 50-100 microinches (smooth with minor stepping) | UV cure, sanding, painting |
| SLS | 150-300 microinches (grainy, matte texture) | Bead blast, dyeing, tumble polish |
| CNC Milling | 63-125 microinches (tool marks, smooth) | Anodize, bead blast, polish, powder coat, paint |
| CNC Turning | 32-63 microinches (very smooth) | Same as milling, plus grinding for ultra-smooth |
CNC machined parts come off the machine with a better surface finish than most 3D prints achieve even after post-processing. If your prototype needs to look and feel like a production part, or if surface finish affects function (sealing, friction, wear), CNC machining delivers without extra steps.
CNC prototypes in as few as 3 days
Production-grade materials. Tight tolerances. Full inspection documentation.
Upload CAD for Instant QuoteCost Analysis
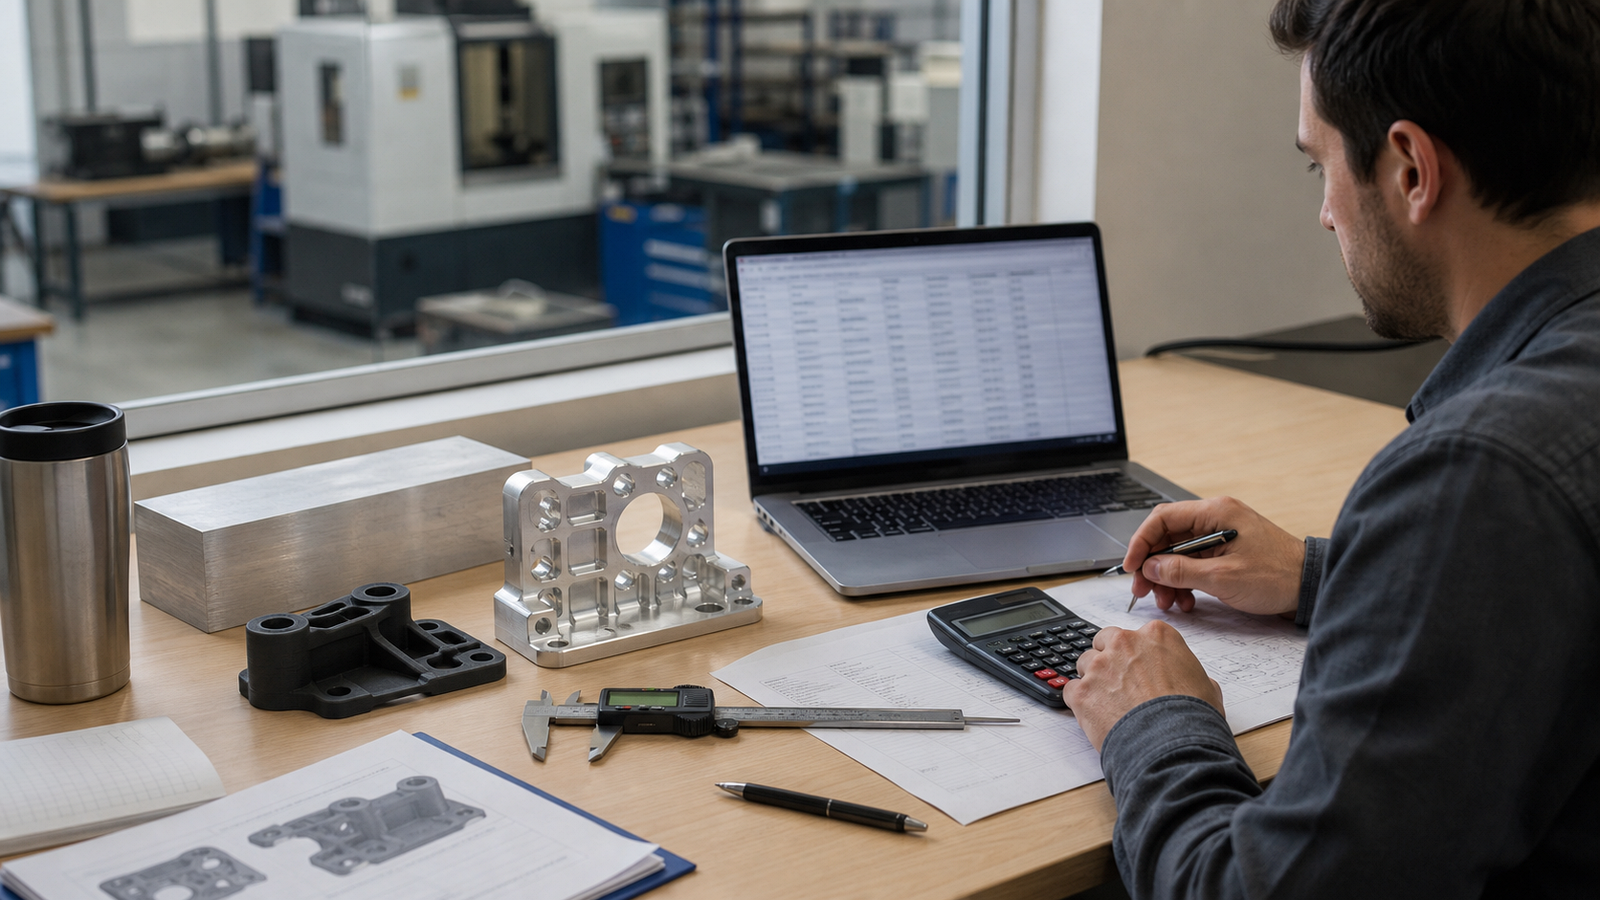
Cost is the factor most engineers ask about first. The answer depends on quantity, complexity, material and tolerances.
Per-Part Cost Breakdown
| Cost Factor | 3D Printing | CNC Machining |
|---|---|---|
| Setup cost | Near zero (slice file, orient, print) | $50-200 (CAM programming, fixturing) |
| Material cost | Low for plastics ($1-5/part). High for metals ($100-500+/part DMLS) | Low-moderate ($5-50 for aluminum/steel block) |
| Machine time | $5-50/hr depending on technology | $75-150/hr for 3-axis, more for 5-axis |
| Post-processing | Support removal, sanding, curing ($10-50) | Deburring included. Finishing extra ($10-100) |
| 1 plastic prototype | $20-80 (FDM/SLA) | $100-300 |
| 1 metal prototype | $300-2,000+ (DMLS) | $50-500 (depending on complexity) |
| 10 identical parts | 10x the single-part cost | 5-7x the single-part cost (setup amortized) |
For a single plastic form-check prototype, 3D printing almost always wins on cost. For metal prototypes, CNC machining is typically cheaper than DMLS because the raw material is less expensive and machine rates are comparable. For quantities above 5-10 parts, CNC machining becomes increasingly cost-effective because setup costs are amortized across more parts.
The Hidden Cost: What Your Prototype Tells You
The cheapest prototype is worthless if it does not answer your question. A $20 FDM print that cannot survive a functional test forces you to make a $300 CNC part anyway -- now you have spent $320 and lost a week. Think about what you need to learn from the prototype before you think about what it costs to make.
Lead Time
Speed matters in prototyping. Every day waiting for parts is a day you are not testing, iterating, or moving forward.
| Process | Typical Lead Time | Rush Available? |
|---|---|---|
| FDM | 1-2 days | Same day for small parts |
| SLA/SLS | 2-4 days | 1-2 days |
| DMLS (metal print) | 5-10 days | 3-5 days |
| CNC Machining | 5-7 business days | 3 days |
3D printing is faster for simple parts in standard plastics. CNC machining catches up when you factor in the post-processing time 3D prints often need (support removal, curing, sanding). For metal parts, CNC machining is often faster than DMLS because metal printing requires extensive support removal, stress relief heat treatment and often CNC finish machining of critical surfaces.
Design Freedom
3D printing can build geometries that are impossible to machine: internal channels, lattice structures, organic shapes and parts with undercuts in every direction. If your design has internal cooling channels or topology-optimized geometries, 3D printing is the only practical option.
CNC machining is limited by tool access. A 3-axis mill can only cut what the tool can reach from the top. 5-axis milling opens up more angles but still cannot reach fully enclosed internal features. However, CNC machining handles thin walls, deep pockets and tight-tolerance features better than 3D printing.
Design Constraints Summary
| Feature | 3D Printing | CNC Machining |
|---|---|---|
| Internal channels | Yes, any shape | Limited to straight drilled holes |
| Undercuts | Yes, with support material | Requires multi-axis or EDM |
| Thin walls | Minimum 0.030-0.060" | Minimum 0.020" (with care) |
| Deep pockets | No issue | Limited by tool length (typically 4:1 depth-to-width) |
| Sharp internal corners | Yes | No (tool leaves a radius) |
| Large flat surfaces | Prone to warping | Excellent flatness control |
| Threads | Must be tapped after printing | Cut or tapped to spec during machining |
When to 3D Print Your Prototype
3D printing is the right choice when:
- You need a form check. You want to hold the part, check ergonomics, verify packaging fit, or present to stakeholders. Material properties do not matter.
- The geometry is impossible to machine. Internal channels, lattice structures, or organic shapes that no CNC tool can reach.
- You are iterating rapidly. You plan to print 5-10 versions in a week, making small changes each time. The low cost per iteration justifies the lower quality.
- Tolerances are loose. Nothing on the part needs to be tighter than plus or minus 0.005 inches.
- You need it tomorrow. A desktop FDM printer can have a part ready overnight. No shop, no quote, no waiting.
- The final product will be injection molded. A 3D printed prototype can verify form and basic function before you invest in mold tooling.
When to CNC Machine Your Prototype
CNC machining is the right choice when:
- You need production-grade materials. Aluminum 6061-T6, 7075, stainless steel, titanium -- materials that perform exactly like the final part.
- Tolerances are tight. Any feature below plus or minus 0.005 inches needs CNC machining. Period.
- You are doing functional testing. Stress tests, fatigue testing, thermal cycling, vibration testing -- you need a prototype that behaves like the real thing.
- Surface finish matters. Sealing surfaces, bearing interfaces, or cosmetic surfaces that need to look and feel like production quality.
- The final part will be CNC machined. Your prototype should match the production process so you can validate the design for manufacturability at the same time.
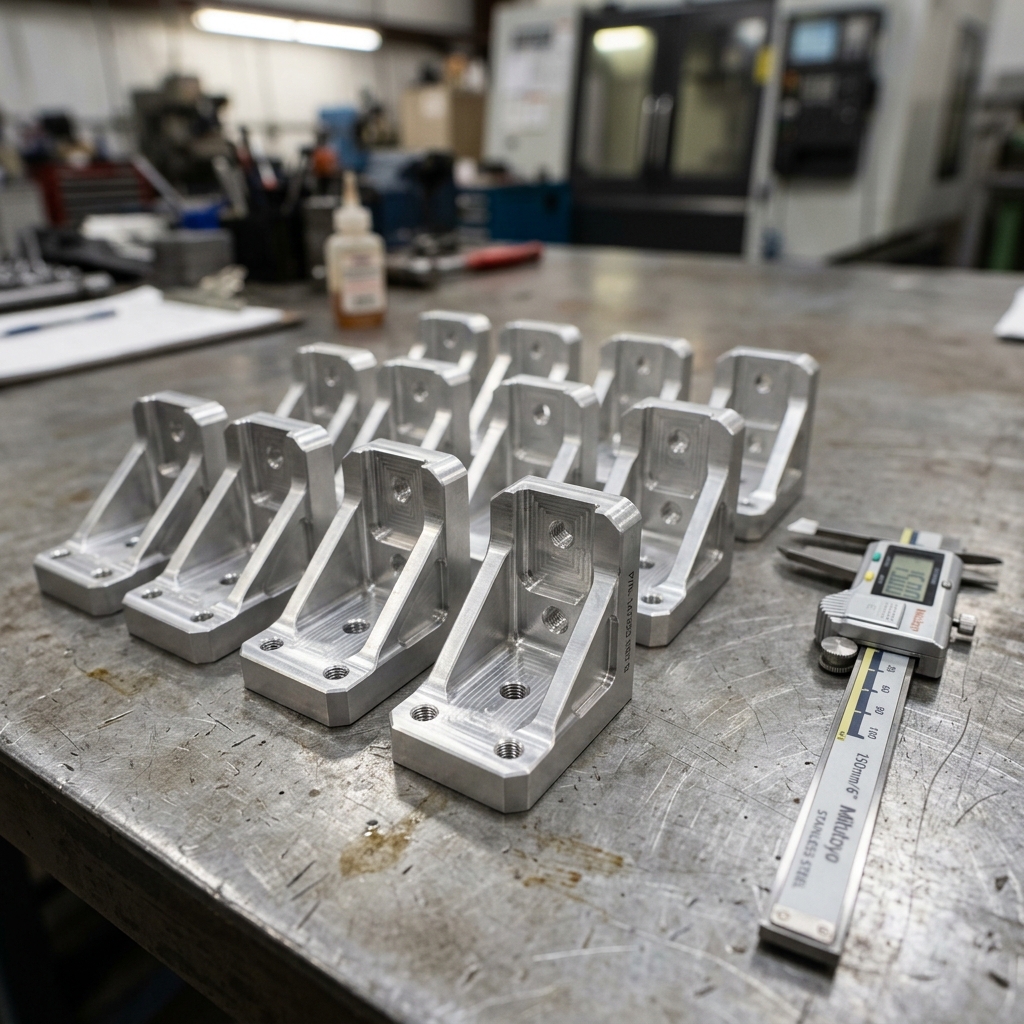
- You need 5 or more identical parts. CNC machining costs less per part as quantities increase because the programming and setup are one-time costs.
- You need certifiable material. Mill certs, heat lot traceability and material test reports are standard with CNC machining. They are rare with 3D printing.
For most engineering prototypes -- the kind where you need to test fit, function and performance -- CNC machining gives you the most useful data. The prototype behaves exactly like the production part because it is made from the same material using the same process. Learn more about our rapid prototyping services and how we help teams move from prototype to production.
The Hybrid Approach: Use Both
The smartest prototyping teams do not pick one method. They use both at different stages of development.
Stage 1: Concept Validation (3D Print)
Print rough prototypes in PLA or resin to check form, ergonomics and basic assembly fit. Cost: $20-50 per iteration. Timeline: 1-2 days. Goal: validate the concept before investing in precision manufacturing.
Stage 2: Engineering Validation (CNC Machine)
Machine prototypes in production-intent materials with real tolerances. Test fit, function, strength and thermal performance. Cost: $100-500 per part. Timeline: 3-7 days. Goal: validate the design for production.
Stage 3: Pre-Production Validation (CNC Machine)
Run a small batch (10-50 parts) using the exact production process, materials and finishes. Use these for customer samples, certification testing and final design sign-off. This is where you catch any remaining manufacturability issues before committing to full production.
This staged approach minimizes cost during early iteration and maximizes data quality during final validation. You spend the least money possible on form checks and the most useful money on functional prototypes.
Frequently Asked Questions
Is 3D printing cheaper than CNC machining for prototypes?
For simple plastic prototypes in quantities of 1-5, yes. FDM and SLA parts cost $20-80 each, while a comparable CNC part might cost $100-300. But for metal prototypes, CNC machining is often cheaper than DMLS metal printing. And for quantities above 5-10 parts, CNC machining becomes more cost-effective because setup costs are amortized.
What tolerances can 3D printing achieve vs CNC machining?
FDM holds plus or minus 0.005 to 0.010 inches. SLA and SLS achieve plus or minus 0.003 to 0.005 inches. CNC machining routinely holds plus or minus 0.001 inches on standard features and plus or minus 0.0005 inches on critical dimensions. If your prototype has mating surfaces or tight fits, CNC is the way to go.
Can 3D printed prototypes be used for functional testing?
For low-load and room-temperature testing, yes. 3D printed parts work for fitment checks, basic assembly tests and low-stress functional tests. But they are not reliable for high-stress, high-temperature, or fatigue testing because layer adhesion creates weak points and printed materials have anisotropic properties. For real functional testing, CNC machined prototypes in production materials give you trustworthy data.
How long does CNC prototyping take compared to 3D printing?
3D printing is faster for simple parts -- 1-3 days depending on technology. CNC prototyping takes 3-7 business days including programming and machining. Rush CNC orders can ship in 3 days. For metal parts, the gap narrows because DMLS requires extensive post-processing. The extra time for CNC buys you production-grade quality.
When should I use CNC machining instead of 3D printing?
Use CNC machining when you need production-grade materials, tolerances below plus or minus 0.005 inches, smooth surface finishes for sealing or bearing surfaces, structural strength for functional testing, or when the production part will also be CNC machined. CNC prototypes eliminate the gap between prototype and production performance.