Wireless Charger Housing — 6061-T6 Aluminum
A consumer electronics brand launching a premium wireless charger needed a housing that positions the charging coil precisely relative to the phone placement surface. Coil misalignment reduces charging efficiency and causes heat buildup. The product must feel premium: heavy, solid, with a perfectly smooth top surface.
The Challenge
Coil pocket depth ±0.005" (coil-to-surface distance affects coupling efficiency). Magnet array pockets positioned ±0.003" to match phone magnet pattern. Top surface finish target ≤8 Ra as-machined with no visible tool marks. Bottom anti-slip groove must be concentric with coil pocket.
Our Approach
Top surface diamond fly-cut for mirror finish (achieved 4 Ra). Coil pocket machined from bottom with critical floor finish for adhesive bonding. Magnet pockets CNC-bored to exact depth. All features referenced from top surface datum for concentricity.
The Result
Charging efficiency measured 93% (spec >90%). Thermal testing showed 4°C cooler than competitor’s plastic charger. Strong pre-order demand led to a 2,000-unit first production order.
Why This Part Is Hard to Machine
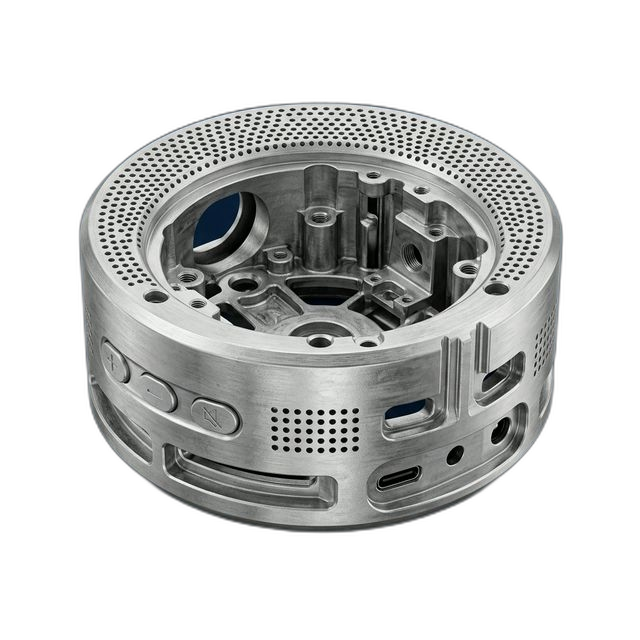
A wireless charger looks deceptively simple — it’s essentially a flat puck. But the precision requirements are driven by physics, not just aesthetics. The charging coil sits in a pocket machined into the bottom of the housing, and the distance from the coil to the top surface (where the phone sits) directly affects electromagnetic coupling efficiency. At ±0.005", even a small depth error changes how much power transfers to the phone.
The magnet array adds another layer of complexity. For MagSafe-style alignment, a ring of magnets must match the phone’s magnet pattern to ±0.003". Each magnet sits in its own precisely bored pocket at an exact depth so the magnet face sits flush with the housing surface ±0.002". A proud magnet scratches the phone. A recessed magnet weakens the snap-on alignment force.
Then there’s the top surface. This is what the user sees and touches every day. The finish target is ≤8 Ra as-machined — no visible tool marks, no feed lines, no cutter witness marks. After rose gold anodize, any surface imperfection becomes amplified because the anodize is semi-transparent and reflective. The surface must be perfect before the coating goes on.
Finally, the anti-slip silicone groove on the bottom must be concentric with the coil pocket above it. If these features aren’t aligned, the charger looks off-center when viewed from above — a subtle but noticeable quality issue for a premium product.
How We Solved It
We ran a free DFM review and worked through three design iterations with the customer, 20 pieces per iteration, with no setup fees between versions:
- Diamond fly-cut for mirror top surface. We fly-cut the top surface with a single-point diamond tool, achieving 4 Ra — well under the 8 Ra spec. The fly-cut produces a perfectly flat surface with no visible tool marks, feed lines, or directional texture. The result is a mirror-like finish that looks flawless after rose gold anodize.
- Coil pocket floor finish for adhesive bonding. The coil pocket was machined from the bottom of the housing. The pocket floor finish is critical — the charging coil is bonded to this surface with adhesive, and surface roughness affects bond strength. We held the floor to 16 Ra for optimal adhesive wetting while keeping the pocket depth within ±0.005".
- Top surface datum for all features. Every feature on the part — coil pocket, magnet pockets, silicone groove — was referenced from the top surface datum. This guarantees concentricity between the coil pocket (bottom) and silicone groove (also bottom), and ensures the magnet pockets are positioned correctly relative to the phone placement surface.
Surface Finish and Post-Processing
The top surface was left as fly-cut (4 Ra) — no additional processing needed. All other external surfaces were bead blasted for a uniform matte texture that contrasts nicely with the mirror top surface. The parts were then sent for rose gold Type II anodize, color-matched to the customer’s brand spec with test coupons.
Magnet pocket bores and the coil pocket were masked during anodize to maintain dimensional accuracy for the press-fit magnets and coil adhesive bond surface.
What the Customer Said
“We went through three design iterations in three weeks and RivCut didn’t charge us a dime in setup fees between versions. The mirror top surface is stunning — our product photographer said it was the easiest product shoot he’s ever done. Charging efficiency hit 93%, thermal is 4 degrees cooler than the competition, and pre-orders are through the roof. We just placed a 2,000-unit production order.”
By the Numbers
Upload Your CAD File
Get instant AI pricing, a free DFM review, and full documentation on every order.
No minimums · No setup fees between iterations · Free DFM review · Ships anywhere in the US