Why These Habits Beat Any CAD Trick
Most “design tips” articles are really CAD tutorials, sketch rules, modifier tricks, feature-tree hygiene. Those things matter, but they are not the reason most first-time CNC quotes come back surprisingly high. The reason is upstream: the part got designed before the problem was fully defined, before the constraints were nailed down and before anyone asked a machinist what would be easy to make.
The eighteen habits below all live in that upstream space. They are the kind of advice Jeremy Fielding wishes he had heard as a young engineer, problem framing, constraint discipline, cheap iteration and a hundred small decisions about what to put in CAD and what to buy. We have reframed each one around the single question that matters for your wallet: how does this choice show up on the invoice?
1. Define the Problem Without a Baked-In Solution
The story Jeremy opens with: a colleague asks for “a more efficient lawnmower.” The real problem, once you strip the assumption out, is “cut X acres of grass in Y minutes.” The first framing locks you into a single solution space. The second lets you consider turf, growth-inhibitor spray, goats, or a totally different kind of cutter. The gap between those two framings is where innovation actually happens and it is also where most over-designed CNC parts come from.
When a colleague or a customer hands you a problem, listen carefully for the solution hidden inside it. Ask gentle, probing questions until you know which constraints are real and which were assumed. You will often discover that the part they asked you to design is not the part they actually need.
Every feature you machine is a bet that you defined the problem correctly. Redefine it wrong and you pay to machine the wrong part, twice, once for the original and once for the rework.
2. Pin Down Your Real Constraints, Time, Quality, Cost, Size
Constraints usually fall into three buckets, how fast, how good, how cheap, plus a fourth that tends to sneak in: how big (or how light, or where it has to fit). Until all four are written down as numbers, you are designing with your fingers crossed.
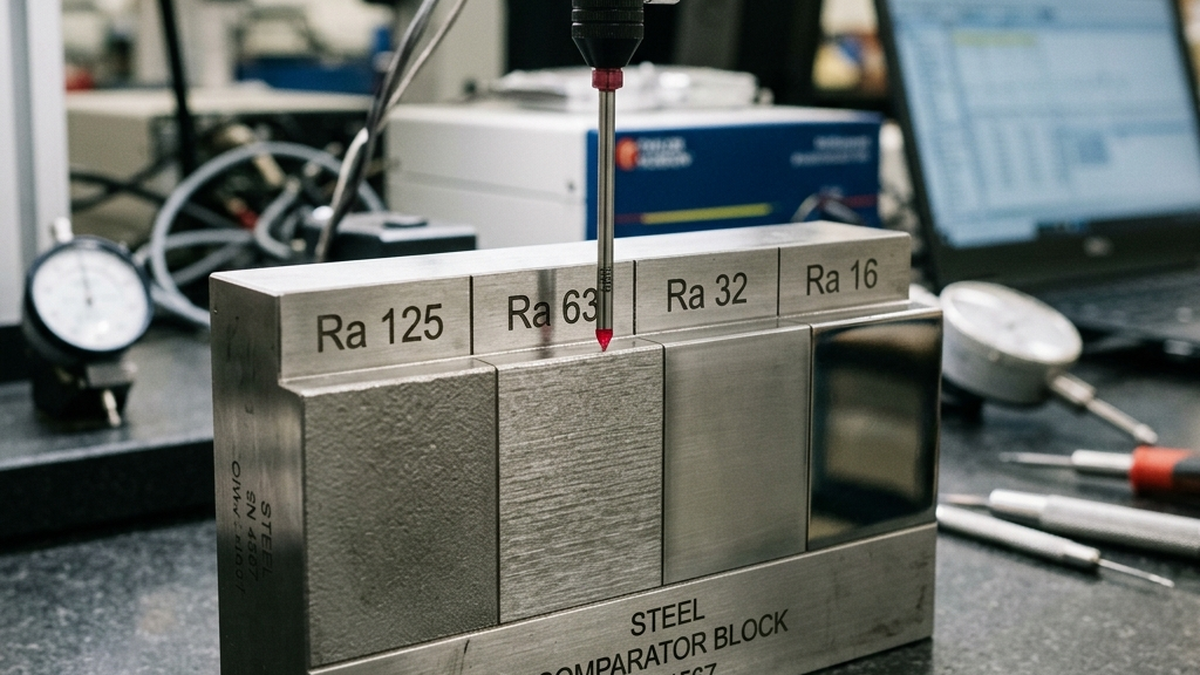
This is also the point where the CNC quote becomes predictable. Lead time is a direct multiplier on machine rate. Quality is tolerance class and surface finish. Cost is a ceiling you set before you CAD, not after. Size is the raw stock dimension. Put numbers on all four and a good shop can price your part before you even finish the drawing.
Ambiguous constraints force a shop to quote worst-case. Tight, written constraints let them quote to the actual requirement and that number is almost always lower.
3. Research Adjacent Fields Before You Invent
Jeremy’s point: there are far fewer new problems than you think. The solution you need often exists, under a different name, in a different industry. A mechanic trying to reach deep into an engine bay might find his answer in a surgical-tool catalog. A maker trying to damp vibration might find his answer in an HVAC part. Before you open CAD, spend thirty minutes searching for the thing you are trying to build.
For CNC specifically, this habit pays off enormously at the commodity layer. Standard extrusion profiles, cam-lock fittings, T-slotted rails, catalog bushings, all of these are shapes someone has already mass-produced to a tight tolerance for a fraction of what a custom machined part would cost. If a stock shape is close to what you need, design around it rather than trying to re-invent it.
Every line on a BOM that can be replaced by “buy it from McMaster” is a line that does not need to be quoted, shipped, or inspected. Research is free; custom machining is not.
4. Sketch in 2D Before You Open CAD
The hardest part of mechanical design, in Jeremy’s words, is pulling a shape out of nothing. It is almost always faster to scribble five rough 2D sketches on an iPad or a sheet of graph paper than to try to evolve an idea inside a parametric 3D model. Your art does not have to be good. Only you need to read it.
This matters for CNC because the cheapest iteration happens before a single entity is extruded. Once you commit to a 3D model, everything downstream, mates, drawings, toolpaths, quotes, is expensive to change. A 2D sketch phase that takes a Saturday morning can save a week of rework later.
Re-quoting a new design is instant. Re-modeling a new design is not. Start with sketches so that when you finally build the 3D model, you build it once.
5. Keep the 3D Model Simple and Easy to Change
A good parametric model is one where changing the most important dimension does not break fifty downstream sketches. That discipline starts at the origin: anchor your critical surfaces there, build out carefully and resist the urge to reference features that are themselves derived from other features. Foundation sketches are worth the time.
Because RivCut’s quote is based on the STEP you upload, a clean, easy-to-edit model is also a clean, easy-to-re-quote model. Tweak a wall thickness, regenerate, re-upload, compare. That is only a cheap loop if the model was built to flex.
A brittle model caps how many variants you can try before the project calendar runs out. A clean model makes instant quoting actually useful.
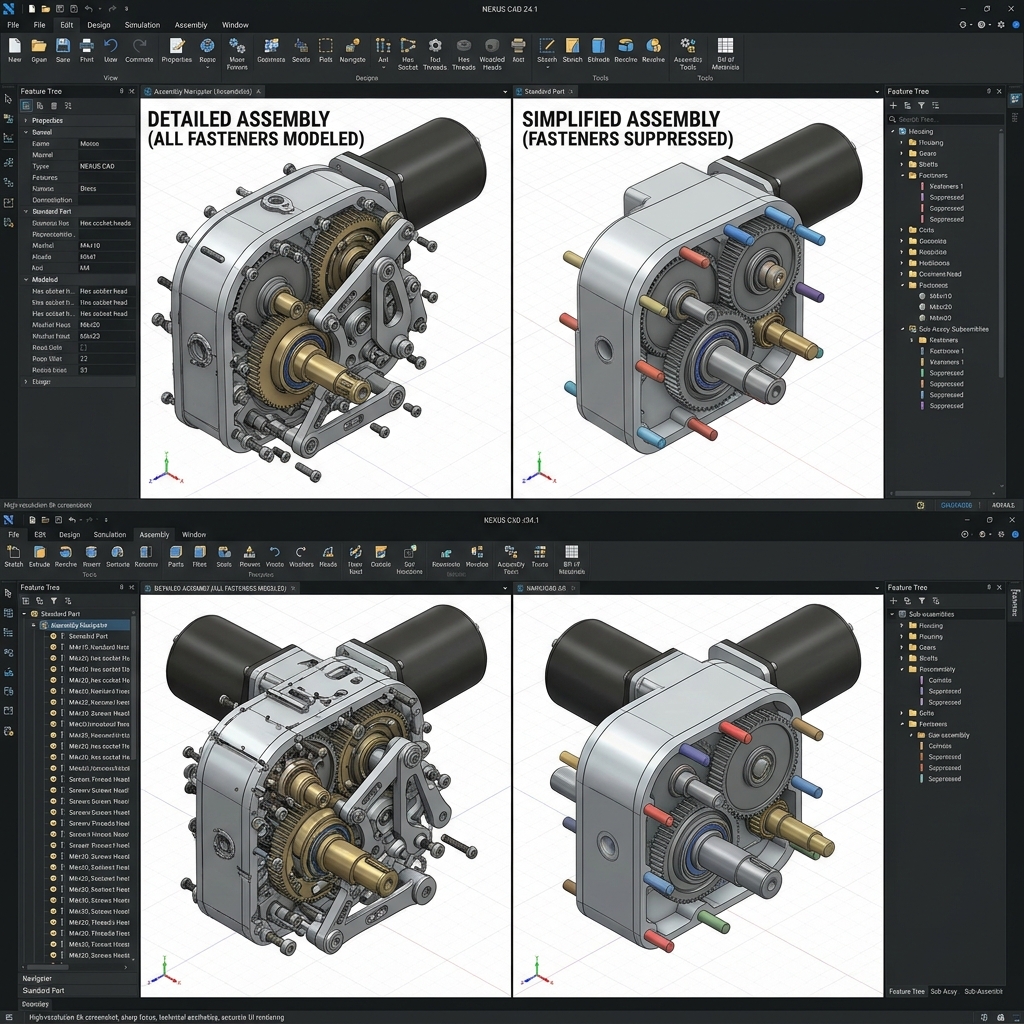
6. Don’t Model Cosmetic Threads
Jeremy’s direct line: “Stop that.” Threads on a screw are for the customer’s eye, not the machinist’s. Your job as a mechanical engineer is a structurally sound model, not a photorealistic rendering. Cosmetic threads inflate your triangle count, slow down orbiting and add absolutely nothing to a shop’s understanding of the part.
When you genuinely need to show thread engagement for a review, use a split line and a color change on the faces involved. It reads better than modeled threads and it ships at a tenth of the file size.
Threads are a drawing callout, not a model feature. Spec 1/4-20 UNC, 2B in the thread note and call it done. Every shop knows what that means.
7. Simplify Downloaded Parts Before You Drop Them In
McMaster-Carr models are wonderful and a trap. Drop in a dozen bolts with modeled threads and suddenly your assembly is sluggish. Before placing a downloaded part in an assembly, suppress the thread features (and any other cosmetic geometry), rename it and save it as a simplified copy. When you need the detail back for a presentation, unsuppress and regenerate.
The same logic applies to anything downloaded from a supplier library: standoffs, connectors, encoders. Simplify first, use second.
STEP file size matters for uploads and for the shop that has to open it. A clean assembly makes everything downstream faster, including your quote.
8. Turn Off Fancy CAD Graphics While You Work
RealView, ambient occlusion, shadow effects, environment reflections, every one of those features is there to make renderings look nice and every one of them slows down modeling. Leave them off while you design. Turn them on only when you need a pretty picture for a customer deck.
Better hardware helps, of course, but you can buy a lot of responsiveness back for free just by turning off effects you do not need.
Nobody quotes based on how pretty your model looked on your screen. They quote based on geometry. Optimize for iteration speed, not visual polish.
9. Design with Symmetry Whenever You Can
Symmetrical parts are easier to model (you build half and mirror), easier to manufacture (shared toolpaths and stock setups) and easier to inspect (the machinist’s eye catches asymmetry instantly). If the function of a part does not demand asymmetry, bake symmetry in.
The rule becomes even more useful on drawings: a symmetrical part needs fewer dimensions to communicate, which means fewer chances for a dimension to be misread or typed wrong in CAM.
Symmetry collapses setup time on the machine floor. Fewer setups means less labor, which means lower cost per piece.
10. Beware Near-Symmetry, It Invites Assembly Errors
The flip side of tip #9: if a part looks symmetrical but is not, you have created an error trap. Two holes offset by 0.5 mm look identical across the bench and get assembled backwards about a third of the time. You have context the assembler does not. They are reading the drawing cold.
When asymmetry is genuinely needed, make it obvious. A bigger offset, a chamfer only on one side, a visible witness feature. Your goal is a part that is hard to assemble wrong, not just possible to assemble right.
Rework from a wrong-way-round assembly is the most expensive kind of cost, it is invisible until it is too late. An unmistakable asymmetric feature is cheap machining insurance.
11. Add Assembly-Assist Features
A dowel pin pocket to locate two plates. A small boss that only engages when the cover is oriented correctly. A generous chamfer pilot at the mouth of a press fit. None of these features do anything for the finished product; all of them make the part easier to assemble and harder to assemble wrong.
Jeremy’s rule of thumb: take a skilled assembler, give them only the drawing and ask if the part can be put together incorrectly. If yes, add a feature until the answer is no.
A dowel pocket or anti-reversal boss adds pennies to a CNC quote. Re-doing an entire assembly because parts went together wrong adds days.
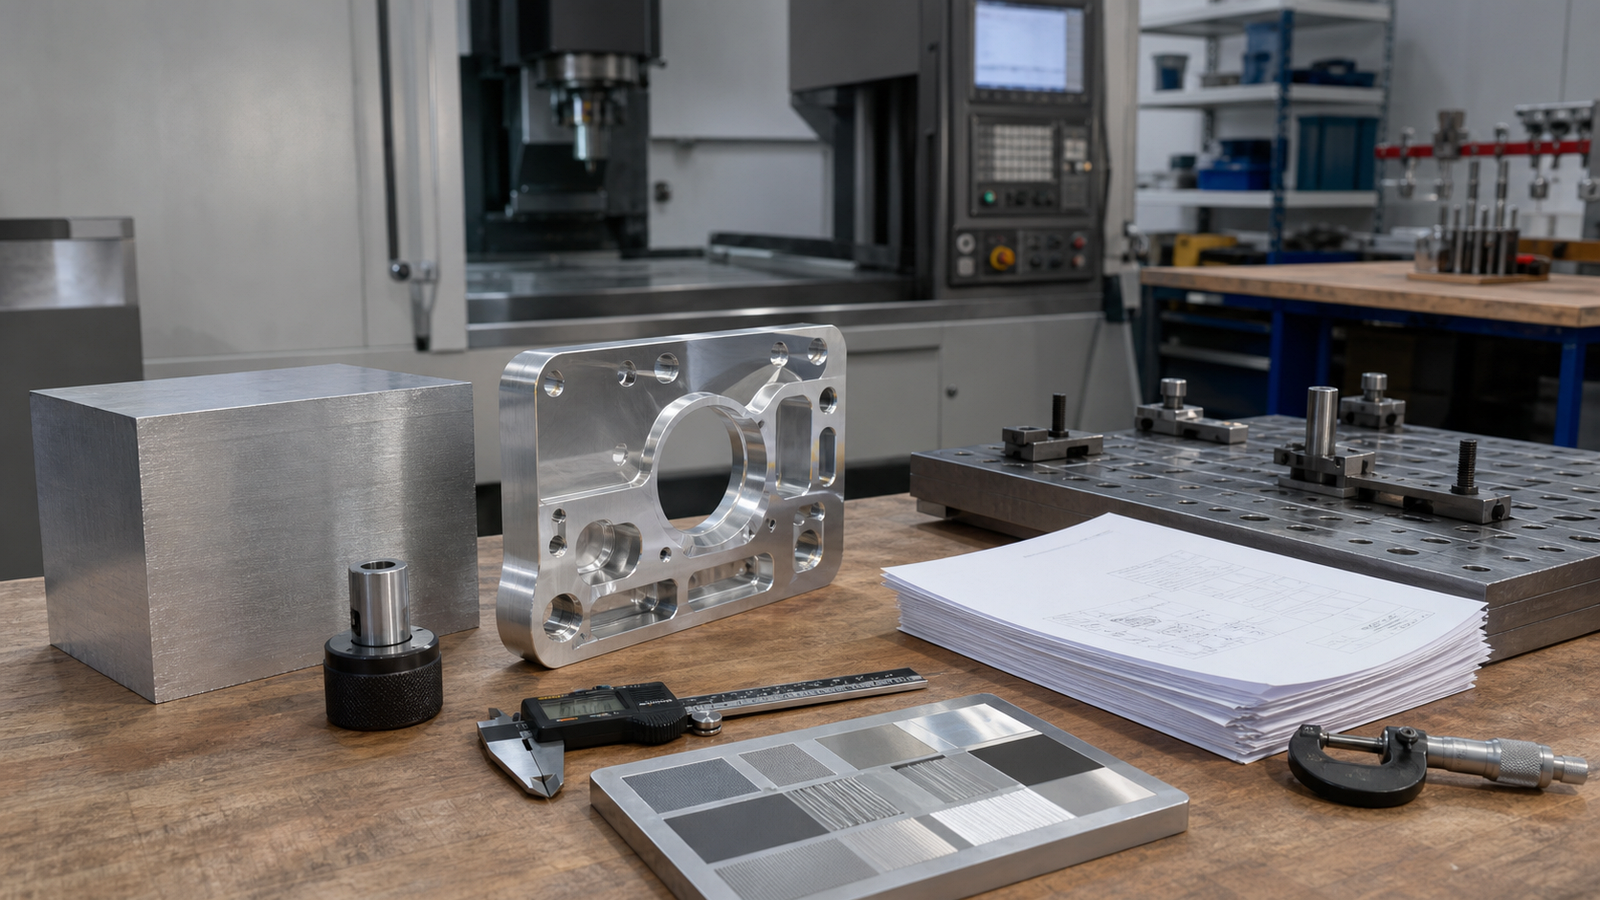
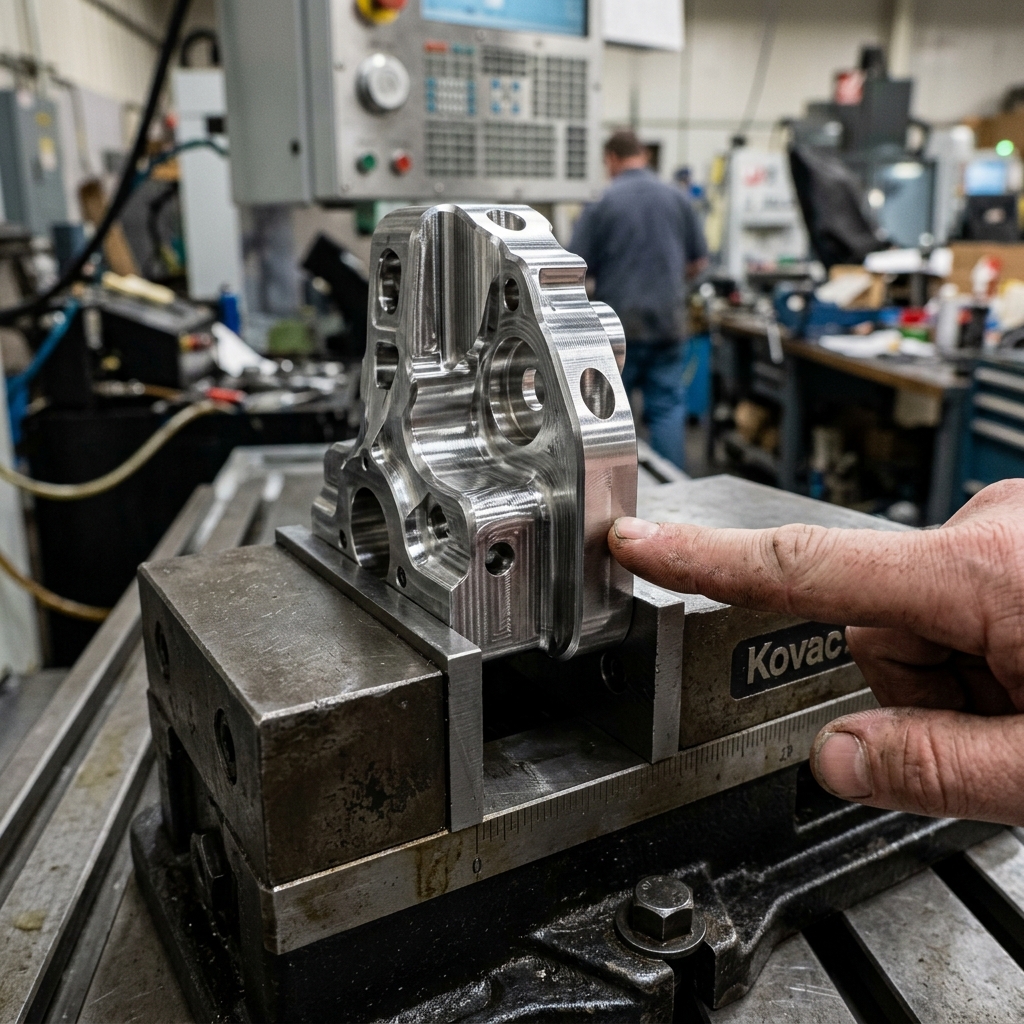
12. Add Manufacturing Features, Flats, Access, Workholding
Jeremy’s example: two flat patches on an otherwise round part. The flats have no functional purpose, they are there so the machinist can hold the part in a vise while machining the bottom. Ten extra minutes at the CAD stage, hours saved on the mill.
Other examples: a pilot hole so a tool can be centered; a relief pocket so an end mill can reach a corner; a light chamfer on a lip so deburring is automatic; a witness flat so a datum can be established. If you have never machined, do not guess, ask. (See tip #13.)
Workholding is often the single biggest driver of setup time. Features that make workholding trivial collapse that cost.
13. Talk to Your Machinist, Welder or Fabricator Early
When Jeremy started engineering, he had zero machining experience, but he asked the machinist. It cost him nothing and saved hours per part. The same habit works for welders, sheet-metal operators and injection-molders. Their answer to “is there anything about this part that would make your life harder?” will almost always save money.
At RivCut, our DFM review is free on every upload. If you want feedback before the quote is final, email a work-in-progress STEP to hello@rivcut.com and an engineer will respond within a business day.
Shops would rather spend fifteen minutes helping you simplify the part than three hours making it the hard way. Ask.

14. Plan for Repairs & Maintenance Before You Finalize
Not every part needs to be serviceable, but the ones that do need to be designed for it from the start. Make a priority list: gaskets replaced annually, bearings relubricated quarterly, fuses accessible without disassembly. Then walk the drawing and confirm that a technician with a standard tool kit can actually reach each one.
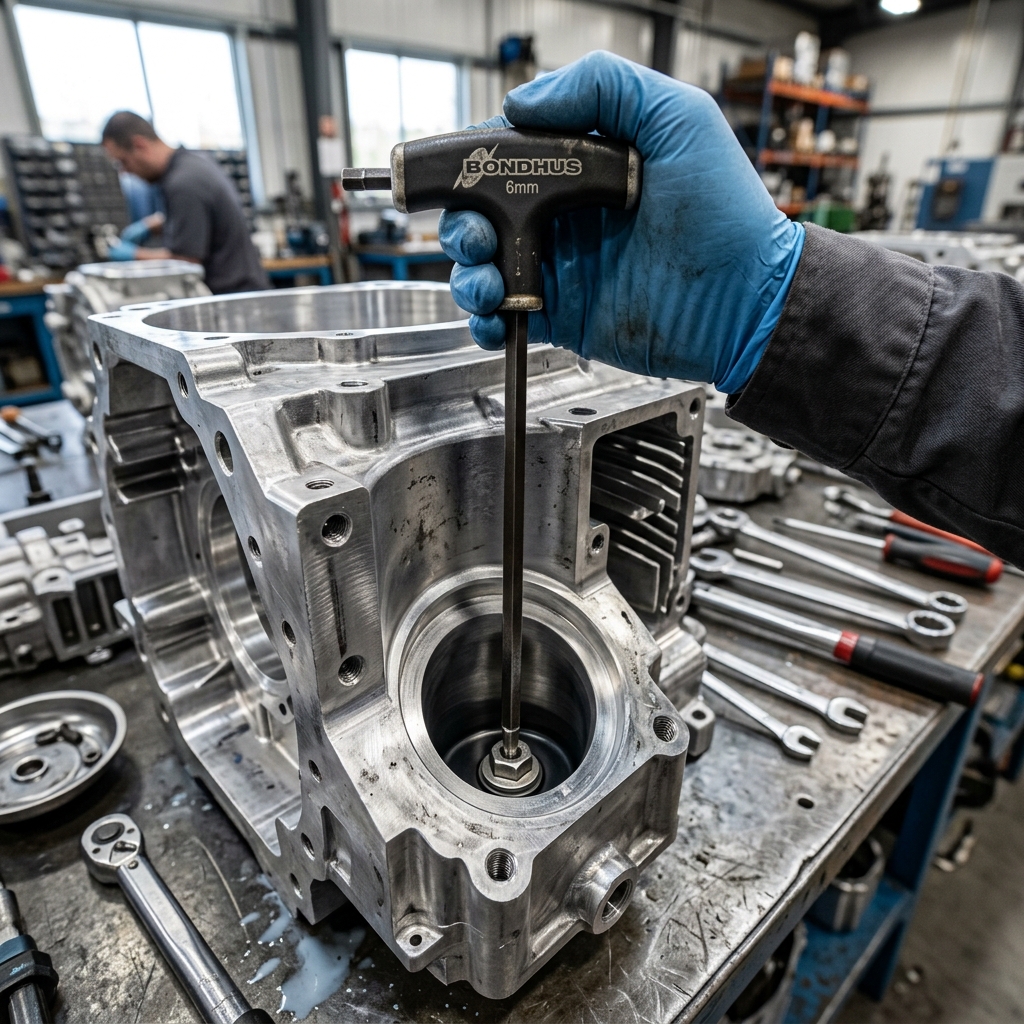
In CNC housings specifically, a clearance pocket for a wrench or a captive screw that stays with its panel is the difference between a thirty-second service call and a half-hour strip-down.
Machining a tool-clearance pocket once is cheap. Replacing a part in the field because it was unserviceable is not.
15. Design to Fail Safely
Everything breaks eventually. The design question is what breaks first and what happens when it does. In electrical terms, that is the fuse: a cheap, replaceable weak link designed to give up before anything expensive does. Mechanical design has the same idea, a shear pin, a rip-stitch, a ductile bracket that yields before a brittle frame cracks.
Jeremy’s bridge example is the key distinction: yielding failure (slow, visible, warning) versus buckling failure (sudden, silent, catastrophic). For CNC parts, that often comes down to material choice: aluminum and most steels yield; hardened tool steel and some cast parts shatter. Pick the failure mode that gives the user a chance.
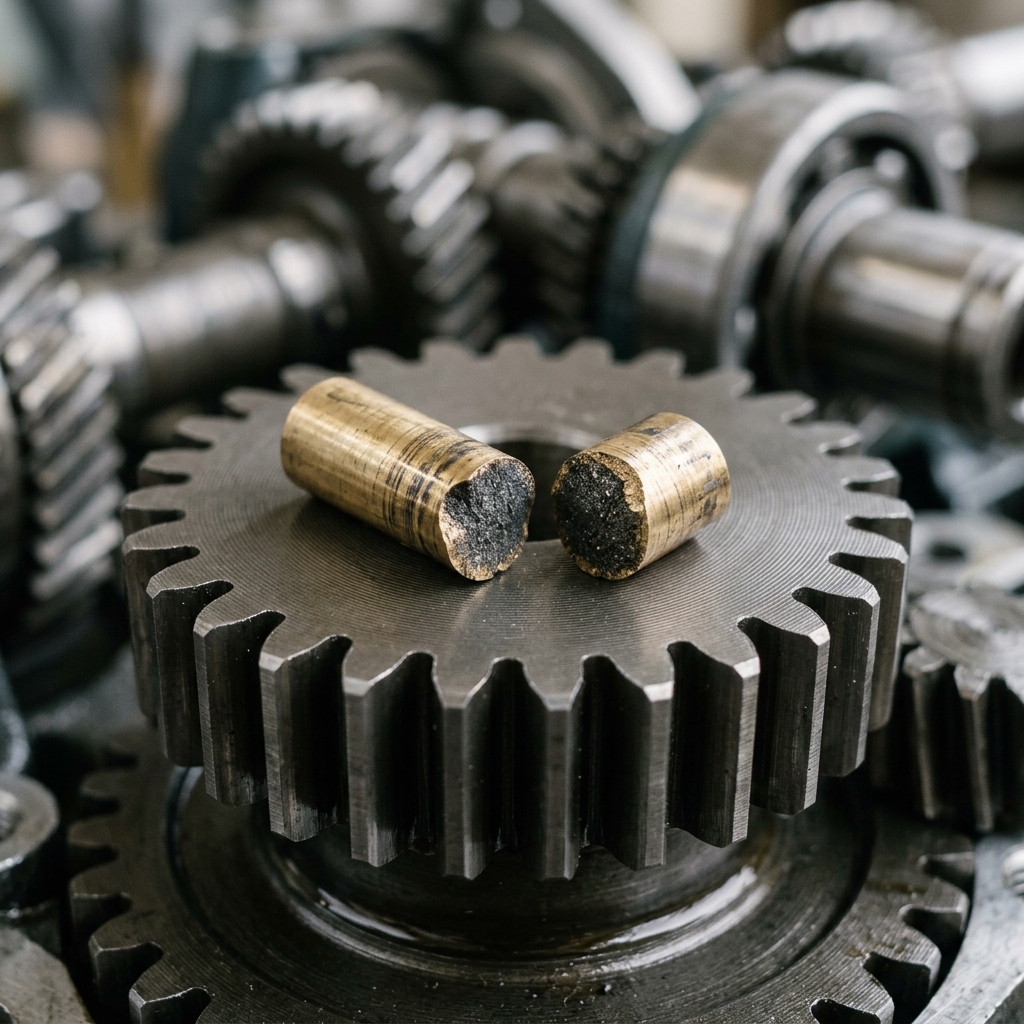
Fail-safe design is about choosing which part is cheap to replace and making sure it is the part that goes first. That is a design decision, not a material upgrade.
16. Anticipate Misuse, Then Stop Stressing About It
Jeremy’s favorite quote: “An engineer who thinks his product is foolproof has underestimated the ingenuity of fools.” His own laptop-stand story is the lesson: his chief engineer predicted a maintenance worker would stand on it, so they redesigned it to look so flimsy nobody would dare. Done.
Spend ten minutes listing the three most likely ways your part will be misused. Mitigate the ones that could hurt someone. Accept that you cannot prevent all of them. Stop there, perfect misuse prevention is a trap that inflates cost for no benefit.
Strategic “designed to look fragile” is a legitimate choice. You do not have to machine a part strong enough to be abused in every way a human could imagine.
17. Control Cost Through Process Callouts
Every callout on a drawing has a price. Two of the biggest levers:
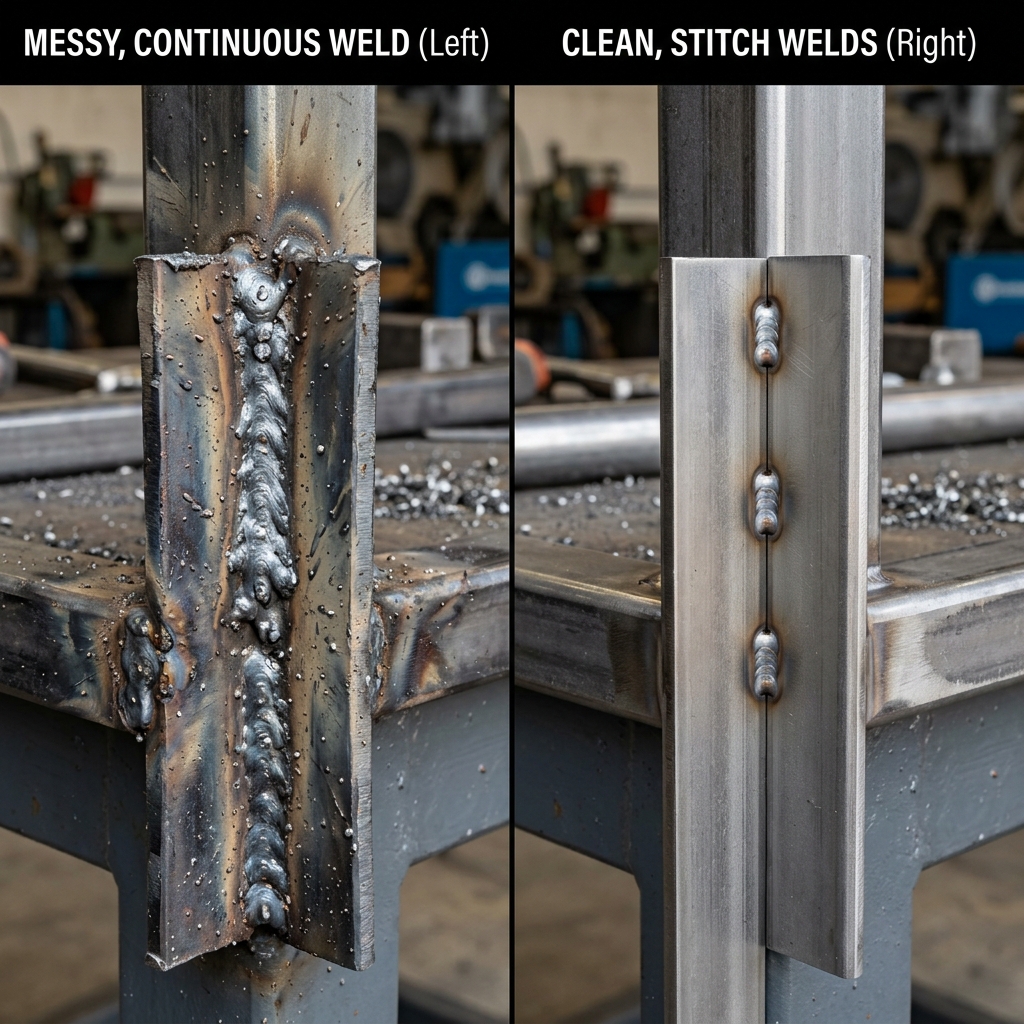
- Welds: Specifying a full weld all around is the easy call-out. A stitch weld at the right spots is almost always strong enough and costs a fraction of the weld time. Ask your fabricator how small is enough, that is the harder question and the answer is almost always less than you think.
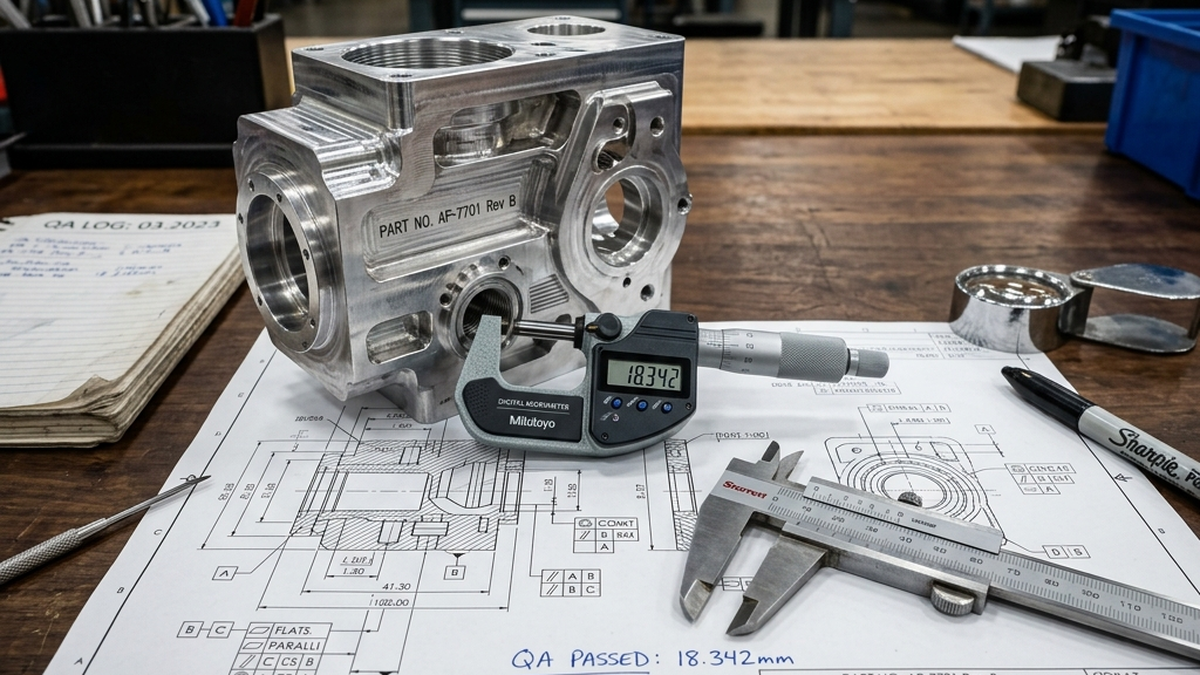
- Tolerances: A hole called out at
±.005”can be drilled on a drill press by anyone. The same hole called out at±.001”forces the shop to put it in CAM, probe it and machine it carefully, often with CMM inspection on the back end. Only tighten a tolerance when a mating feature genuinely requires it.
Surface finish, material grade, heat treat and coatings work the same way. Each one is a price dial. Turn each dial to exactly the setting your application needs, no higher.
A single tolerance change from ±.0005” to ±.005” on a non-mating feature routinely saves 30–40% on a quoted part. Audit every callout.
18. Use Purchased Parts Over Custom Whenever Possible
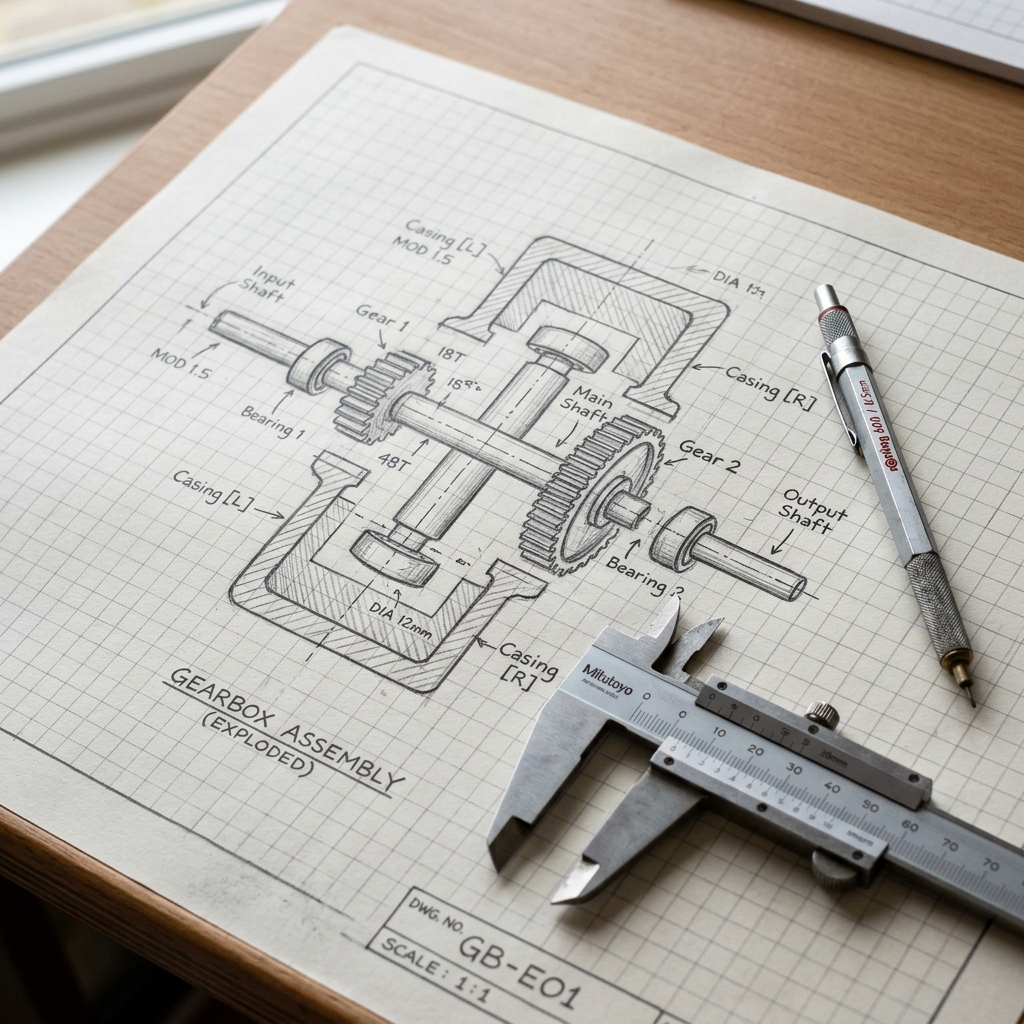
This is the single biggest lever on BOM cost. Bearings, fasteners, dowel pins, O-rings, standoffs, gears at standard modules, all of these exist in millions of warehouses at prices a CNC shop cannot match. A custom fastener costs 20 to 50 times more than the McMaster-Carr equivalent. A custom bearing easily costs 100 times more than a catalog one.
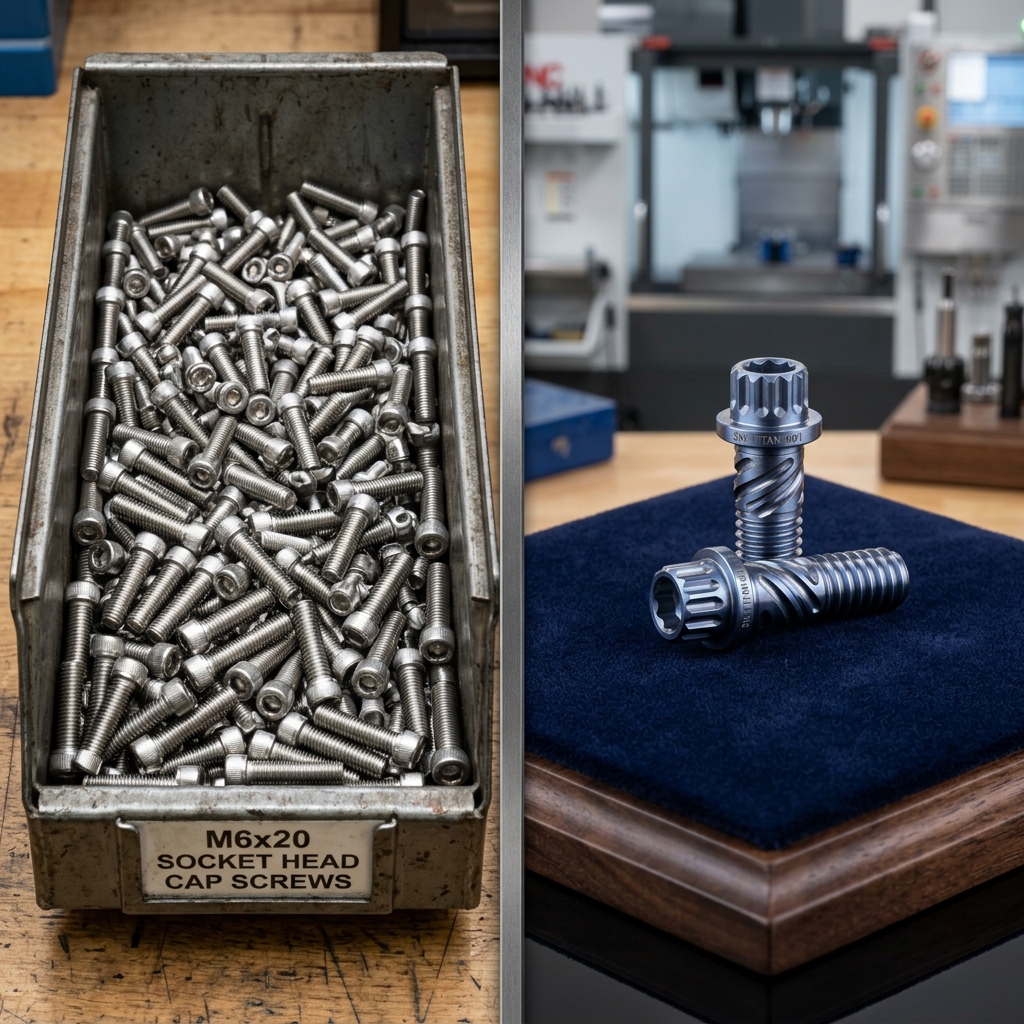
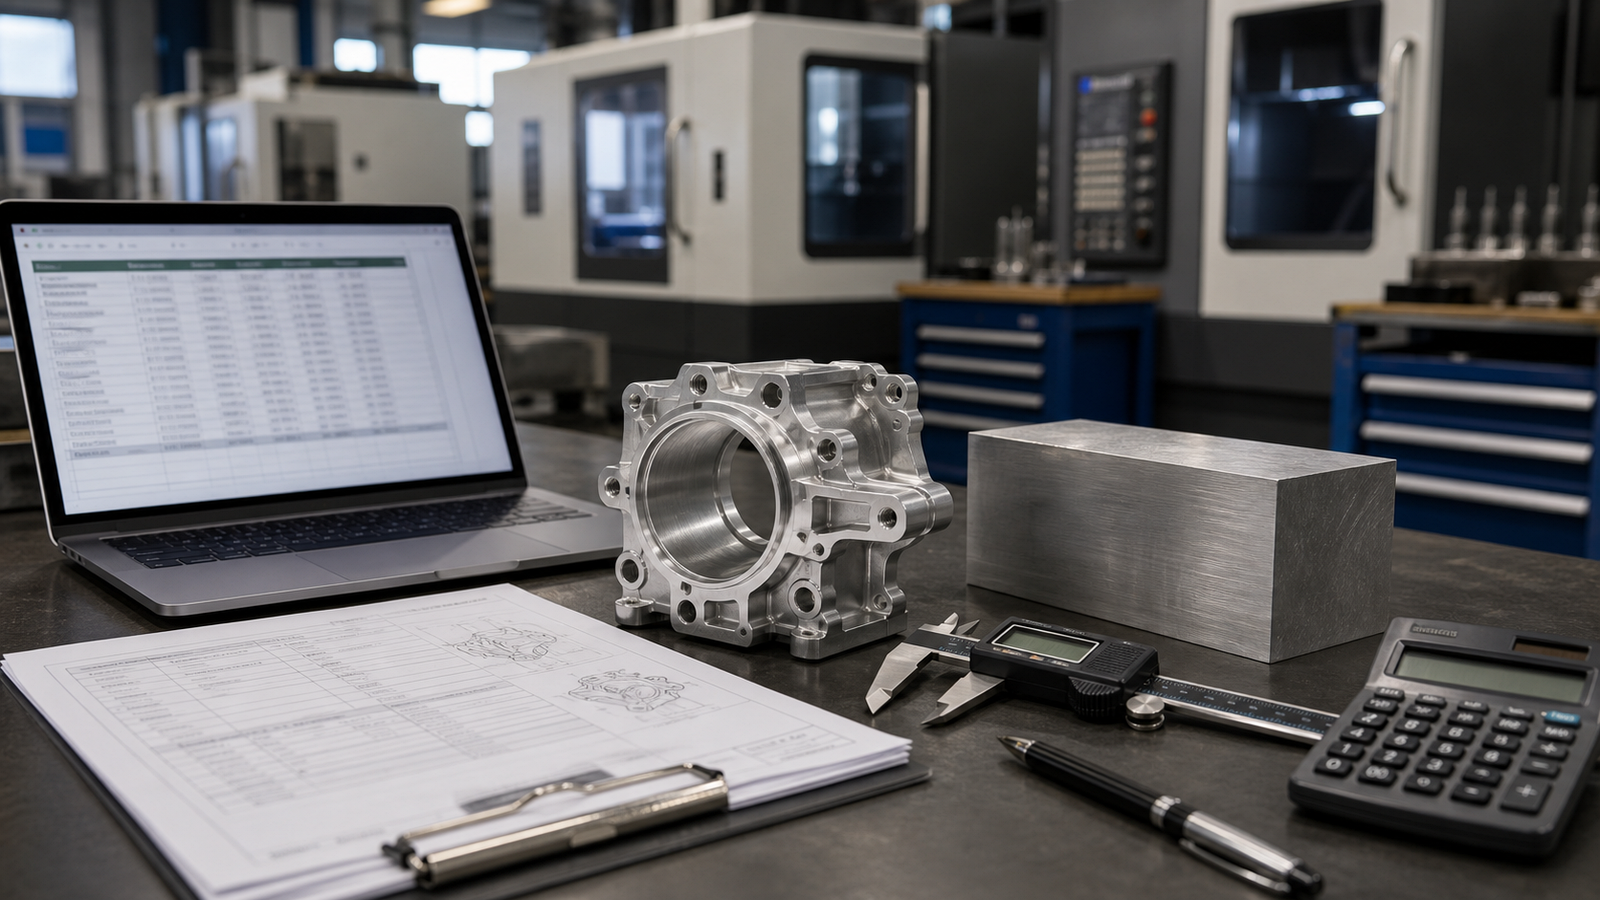
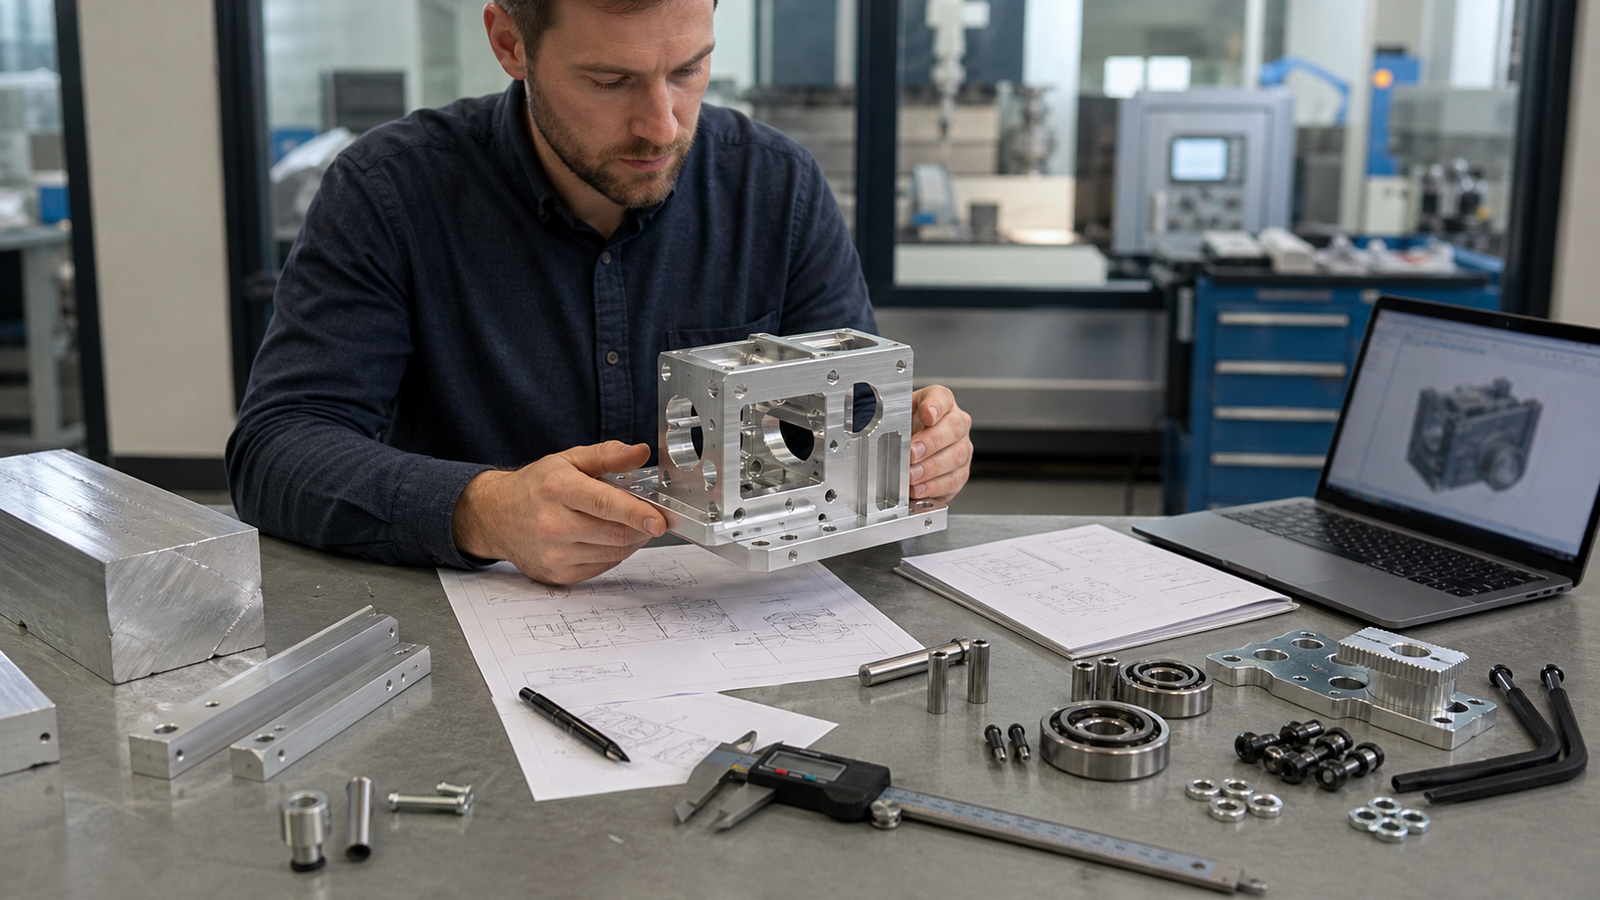
Reserve CNC for the parts only a machine shop can make: structural housings, custom brackets, specialty jaws, precision mating features. Everything else, buy. It is not a compromise, it is the right answer.
Before you upload, audit your BOM one more time. Every line that can become a catalog part is a line you do not have to machine, quote, or inspect.
Beyond the 18: Power, Joinery & Gotchas
Power sources: don’t default to “plug it in”
Most engineers reach for wall power or a battery. The broader menu includes pneumatics (fast but needs a compressor and plumbing), hydraulics (enormous force in a small package, but slow and leaky), mechanical (spring, weight, crank) and mechanically generated electricity. Each power choice cascades into the housing, mounting and safety features you will have to machine. Pick it early.
Joinery: welding, bolting, snapping, gluing
Welding is strong but labor-intensive and hard on machined features (heat distortion is a real thing). Bolting is easy to service and easy to re-quote per piece. Snap-fits are cheap in plastic, nearly free in metal if you design them right. Modern structural adhesives (Loctite’s 8000-series weld-replacements get a mention in Jeremy’s video) can replace welds in many applications, no distortion and a far shallower skill curve than welding.
From a quoting standpoint, bolted assemblies are usually the cheapest because each piece is machined in parallel and assembled at the end. Welded fabrications add labor that is not parametric, which means quotes on welded work can vary widely between shops.
Thermal-expansion gotchas
Bolting dissimilar materials is a recipe for loose fasteners, the two materials expand at different rates as temperature changes and the joint pre-load drifts. If your part will live outside, in an engine bay, or anywhere near heat, either match the materials or use a compliant mount (wave washer, Belleville stack) to absorb the differential.
The best DFM habit is still the cheapest one: upload your CAD, look at the price and ask yourself which of these eighteen (ish) tips would move the number.
Frequently Asked Questions
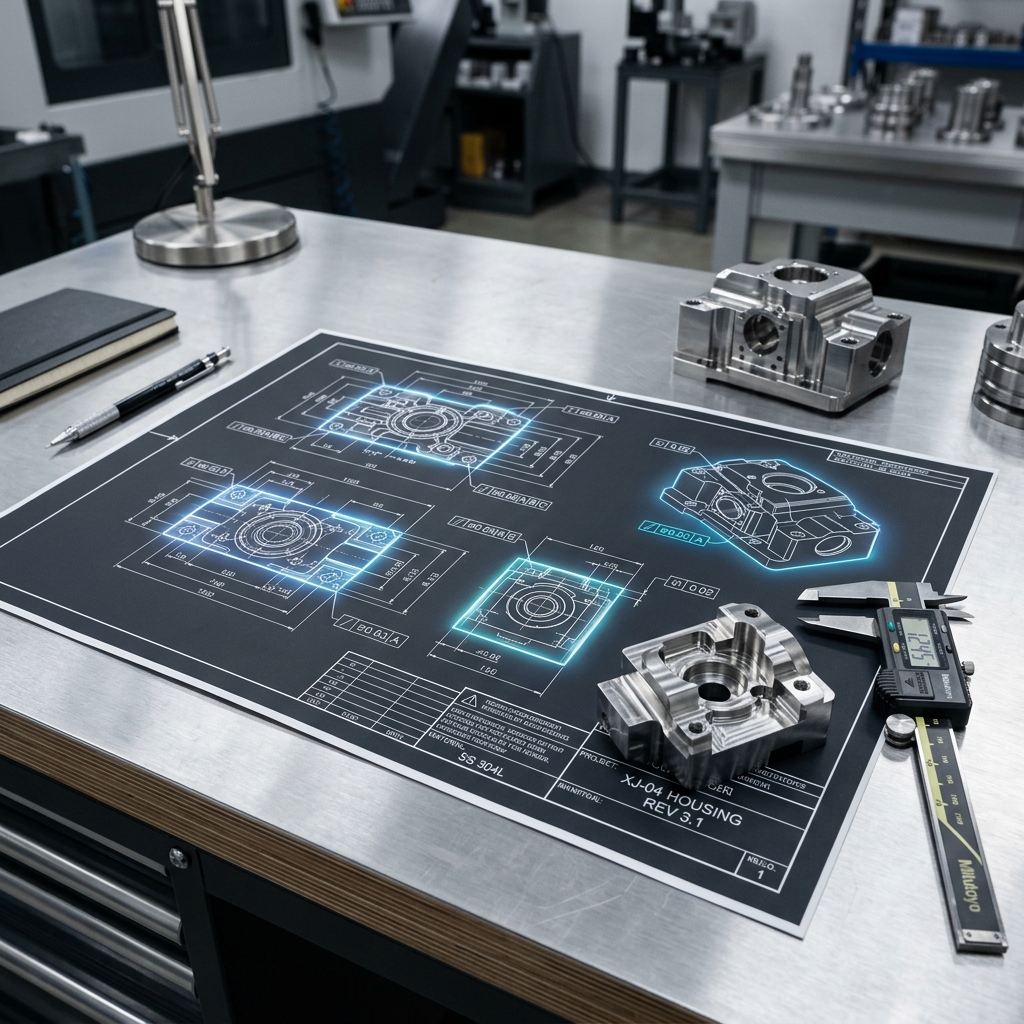
How do I know if my CAD is ready for a CNC quote?
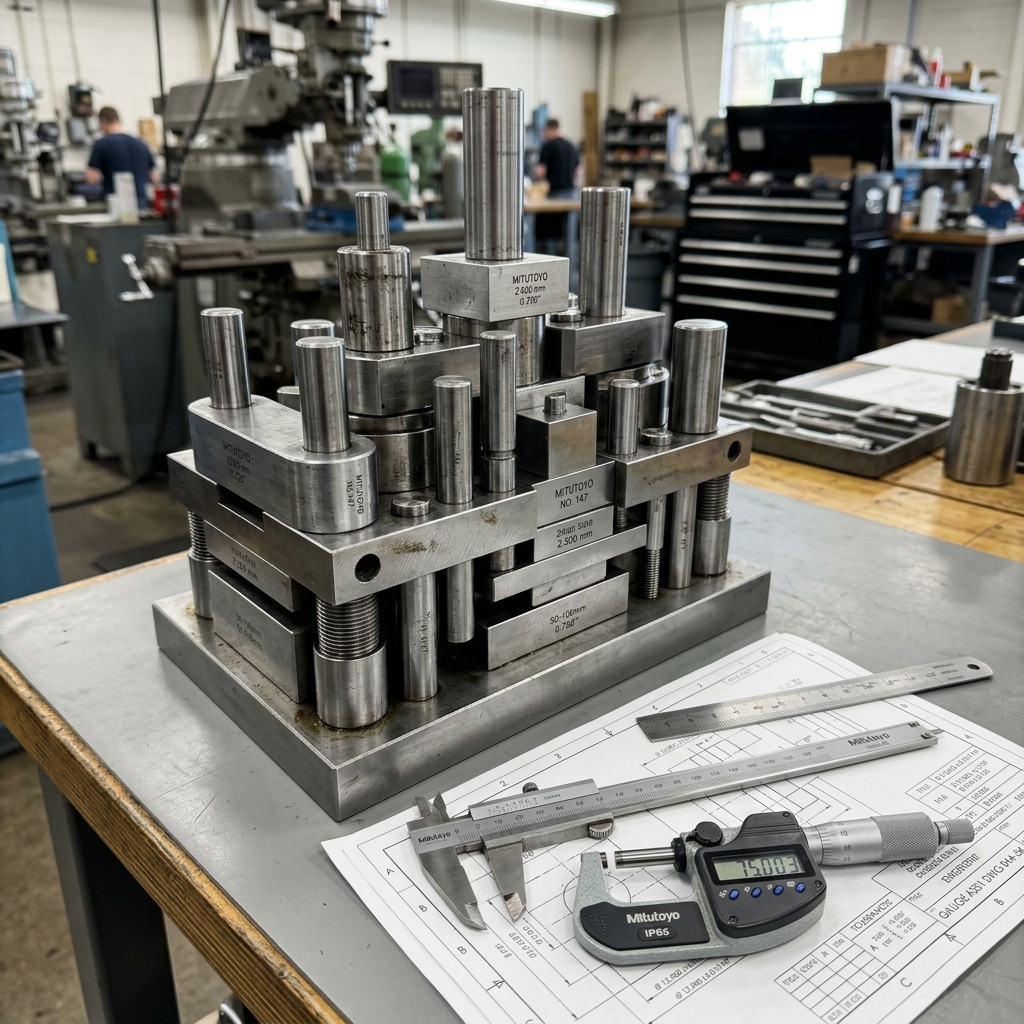
Your CAD is quote-ready when the geometry reflects real manufacturing decisions: fastener holes sized for off-the-shelf screws, internal corner radii at least as large as a reasonable end mill, tolerances called out only where a mating feature requires them and features added to hold the part in a vise. If your model was built purely to look right on screen, expect a slow and expensive first quote.
When should I use purchased parts versus custom-machined?
Use purchased parts for anything that is mass-produced to standard specifications: bearings, fasteners, dowel pins, O-rings, standard gears, stock extrusions. Reserve CNC for the features only a machine shop can make, structural housings, custom brackets, precision fits. A custom fastener typically costs 20 to 50 times more than a catalog equivalent.
What is the cheapest way to reduce CNC cost on an existing design?
Three changes usually move the quote more than anything else: loosen tolerances on features that do not mate to anything, enlarge internal corner radii so a bigger end mill can clear them and replace any custom fastener or bushing with a catalog part. Each of those is a one-minute CAD edit and can knock 10 to 30 percent off a quote.
Does designing for symmetry actually lower the quote price?
Sometimes directly and always indirectly. Symmetrical parts are easier for a machinist to read off a drawing, which reduces first-article mistakes and rework. Symmetrical features often share toolpaths, which shortens cycle time. The biggest saving is the one that never appears on the invoice: fewer assembly errors downstream.
How should I think about over-engineering a CNC part?
Define the four trade-offs before you open CAD: speed, durability, weight and cost. Over-engineered parts come from assuming the maximum value for all four. Pick the two that matter most for this specific application and let the other two float. If the part is a prototype, durability can be lower. If it is a fixture, weight is free. If it is aerospace, weight is the number that rules every other decision.