The 3-2-1 Locating Principle
Every rigid body has 6 degrees of freedom. Three translations (X, Y, Z) and three rotations (pitch, yaw, roll). A fixture must remove all 6 to fully locate the part.
The 3-2-1 principle does this with exactly 6 contact points. No more, no less.
- 3 points define the primary plane. These sit under the part and support it against gravity. They remove 1 translation (Z) and 2 rotations (pitch and roll).
- 2 points define the secondary plane. These push against one side of the part. They remove 1 translation (Y) and 1 rotation (yaw).
- 1 point defines the tertiary plane. This pushes against an adjacent side. It removes the last translation (X).
Six points. Six degrees of freedom. That is 3-2-1 locating. It is the foundation of every good fixture.
| Plane | Contact Points | Degrees Removed | Typical Method |
|---|---|---|---|
| Primary (bottom) | 3 | Z translation, pitch, roll | 3 support pads or pins |
| Secondary (side) | 2 | Y translation, yaw | 2 locating pins or stops |
| Tertiary (end) | 1 | X translation | 1 end stop or pin |
Datum Selection
Your fixture datums must match the part datums. This sounds obvious, but it is the most common mistake in fixture design.
Primary Datum Rules
- Use the largest, flattest surface as the primary datum. Bigger surface = more stability.
- Prefer machined surfaces over raw surfaces. Machined surfaces are flat and predictable.
- Match the drawing datums. If the print calls out Datum A on the bottom, your fixture should support the bottom.
Secondary and Tertiary Datums
- Secondary and tertiary datums should be perpendicular to the primary.
- Use the longest edge for the secondary datum. Length improves angular accuracy.
- When possible, use existing features like machined edges, bores, or slots as datum surfaces.
If your part has a bore as a datum, use a locating pin in the fixture that matches the bore diameter. A diamond pin (relieved on two sides) makes a great secondary locator because it only constrains one axis.
Achieving Repeatability
Repeatability is the ability to put every part in the same position every time. It is the reason fixtures exist. Here is how to get it right.
Locating Pin Fits
The fit between locating pins and part features determines repeatability. Tighter fits = better repeatability but harder loading.
| Pin Type | Typical Fit | Repeatability | Loading Ease |
|---|---|---|---|
| Round pin (primary) | Slip fit (0.0002 - 0.0005 in clearance) | 0.0005 in | Easy |
| Diamond pin (secondary) | Slip fit on one axis | 0.0005 in (one axis) | Easy |
| Press-fit pin | Interference (0.0002 - 0.0005 in) | 0.0002 in | Requires press |
| Expanding pin | Zero clearance (adjustable) | 0.0001 in | Moderate |
Surface Quality Matters
Rough locating surfaces kill repeatability. Burrs, chips and coolant residue all cause the part to sit differently each time.
- Machine locating surfaces to 32 Ra or better
- Harden locating pads if they will see high volume (1,000+ parts)
- Add air blow channels to clear chips from locating surfaces before each load
Avoiding Over-Constraint
Over-constraint is the enemy of repeatability. It happens when you add more locating points than needed. The result is inconsistent positioning.
Common Over-Constraint Mistakes
- 4 support pads on a flat surface. Only 3 define a plane. The 4th creates a rocking condition. The part teeters between two positions.
- Two round locating pins in two round holes. Unless the hole spacing is perfect, the pins fight each other. Use one round pin and one diamond pin instead.
- Clamping from both sides. If you push the part against a stop and also clamp from the other side, the part is stuck between two forces. It may not seat consistently.
When using two locating pins in two holes, always make one a round pin and one a diamond pin. The round pin locates in X and Y. The diamond pin only locates in one axis. This prevents binding from hole spacing tolerance.
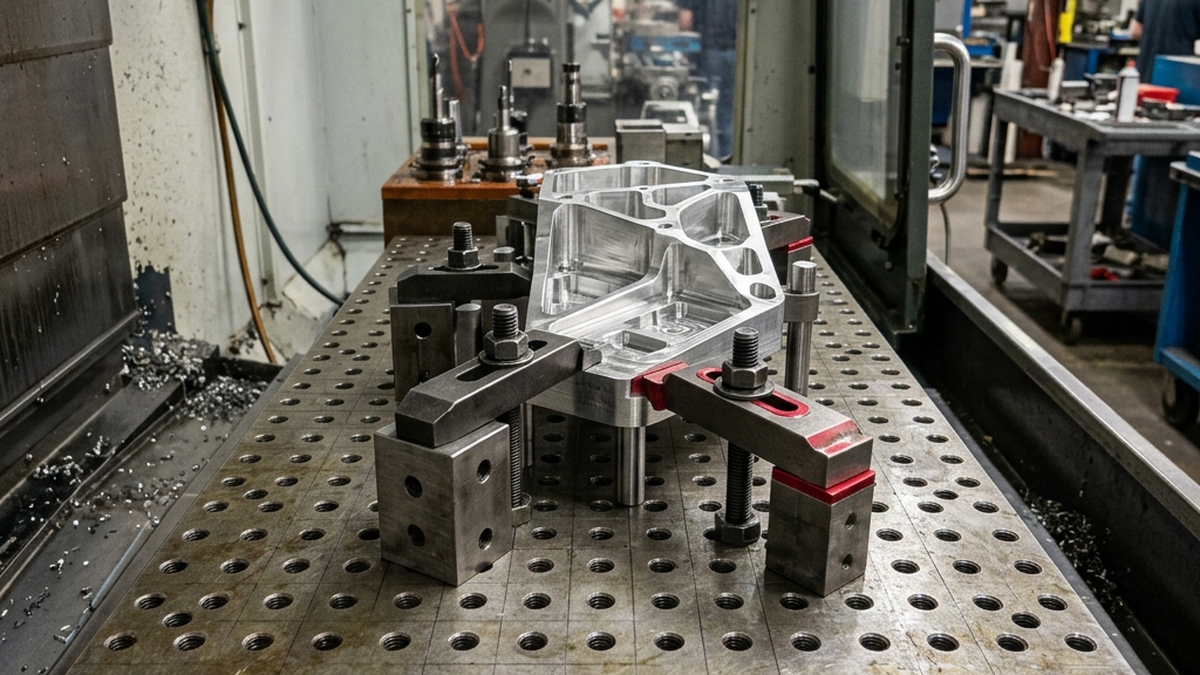
Clamping Rules
Clamping holds the part against the locators. It should not move the part. If your clamp shifts the part, the fixture has a design problem.
- Clamp toward the locators. Force should push the part into the locating points, not away from them.
- Clamp over supported areas. Never clamp over unsupported sections. The part will bend and distort.
- Use the minimum force needed. Over-clamping causes distortion. Use a torque wrench for consistency.
- Locate first, then clamp. The part should be fully located before any clamp is tightened.
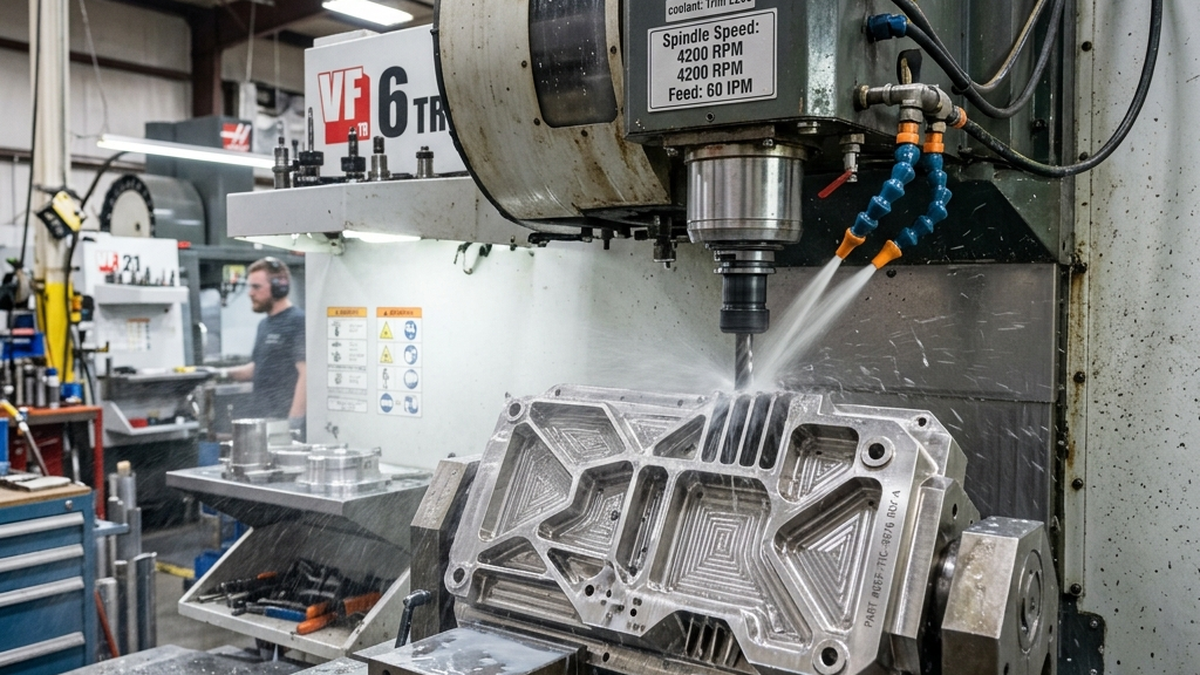
- Clamp close to the cut. The closer the clamp is to where the tool cuts, the more rigid the setup. Less chatter, better finish.
Fixture Design Checklist
Use this checklist before building any fixture. It catches the most common problems.
- Does the fixture use 3-2-1 locating (or an appropriate variant)?
- Do fixture datums match the drawing datums?
- Is the part fully constrained but not over-constrained?
- Does clamping force push the part toward the locators?
- Are all clamp points over supported areas?
- Are locating surfaces machined and hardened (for production)?
- Can the operator load the part in one motion?
- Is there a path for chips and coolant to escape?
- Does the fixture clear all tool paths and spindle movements?
- Can you inspect critical features without removing the part?
Need a precision fixture for your parts? Upload your CAD file and we will design the workholding solution with your quote.