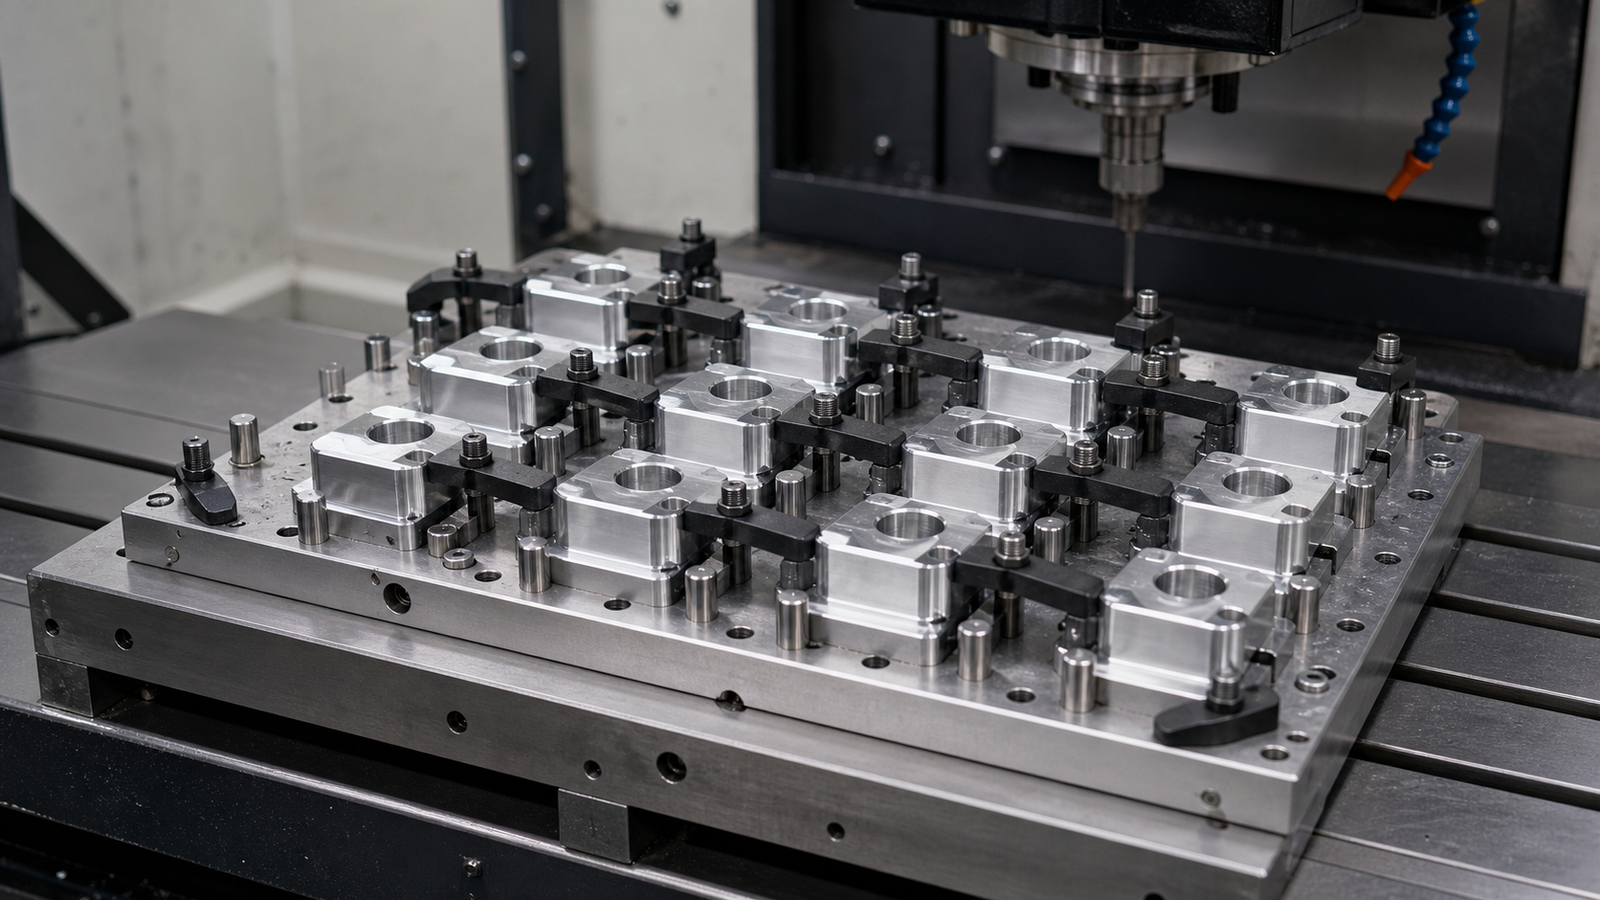
How Zero-Point Clamping Works
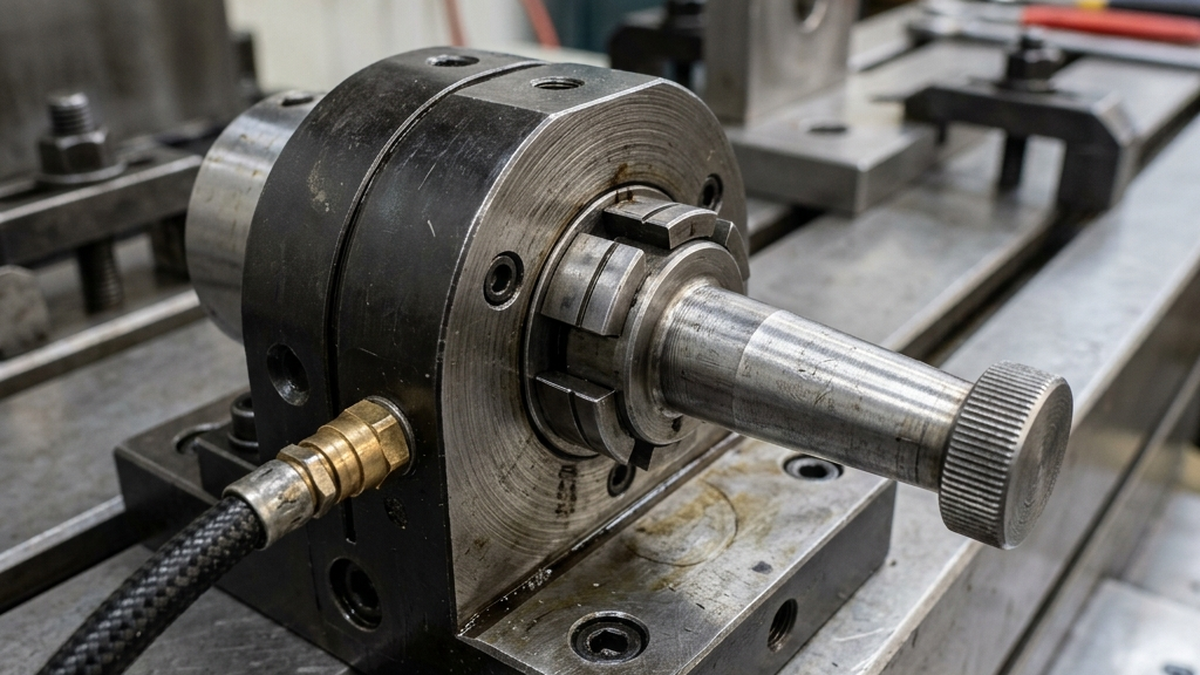
A zero-point system has two parts. Clamping modules bolt to your machine table. Locating pins attach to the bottom of your fixtures and vises.
Drop the fixture onto the modules. The pins slide into the receivers. Turn the lock. Done. The fixture sits in the exact same spot every time.
Most systems use a ball-lock or taper-lock design. Spring force holds the pins in place. Pneumatic or hydraulic pressure releases them. Some manual systems use a hex key instead.
Zero-point clamping does for fixtures what quick-change tooling did for tool holders. It removes the guesswork from setup.
Key Components
- Clamping modules, Bolt to the machine table in a fixed pattern. Stay there permanently.
- Locating pins (studs), Attach to fixture base plates. Match the module pattern exactly.
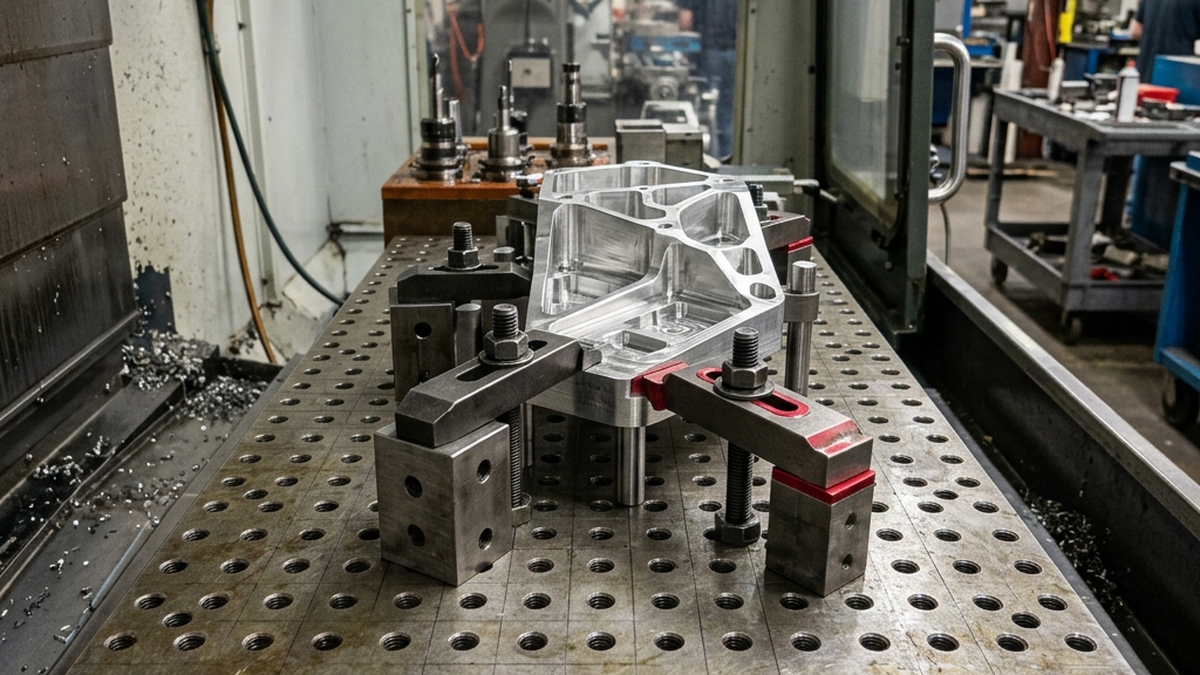
- Base plates, Flat plates that connect your vise or fixture to the locating pins.
- Release mechanism, Pneumatic, hydraulic, or manual. Opens the clamp for fixture removal.
Repeatability Specs
Repeatability is the whole point. If a zero-point system cannot put the fixture back in the same spot, it is useless. Here is what modern systems deliver.
| System Type | Repeatability | Clamping Force | Best For |
|---|---|---|---|
| Manual ball-lock | 0.0005 in (12 μm) | 2,000 - 4,000 lbs | Job shops, low volume |
| Pneumatic ball-lock | 0.0002 in (5 μm) | 4,000 - 8,000 lbs | Mid-volume production |
| Hydraulic taper | 0.00004 in (1 μm) | 10,000 - 20,000 lbs | High-precision, aerospace |
| Pneumatic taper | 0.0001 in (2.5 μm) | 6,000 - 12,000 lbs | High-volume production |
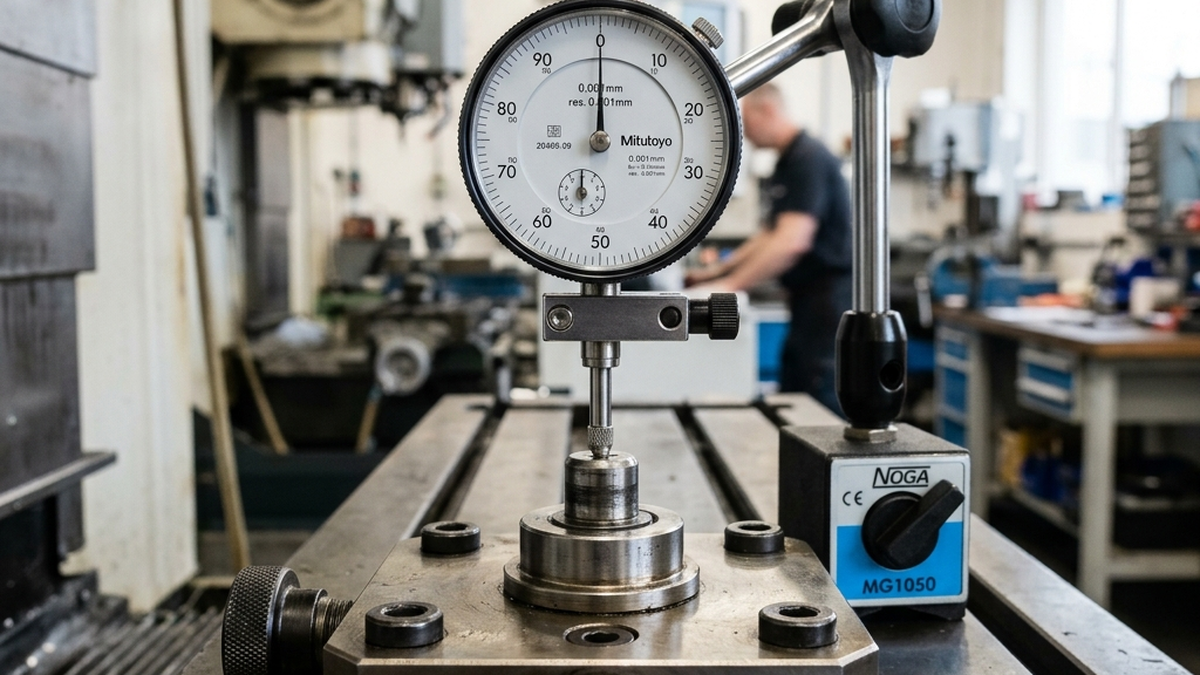
After installing a zero-point system, test repeatability yourself. Load and unload the same fixture 10 times. Measure a reference point with a dial indicator each time. The spread should match the manufacturer's spec.
Setup Time: Traditional vs. Zero-Point
The time savings are dramatic. Here is a typical comparison for swapping a 6-inch vise on a VMC.
| Step | Traditional Setup | Zero-Point Setup |
|---|---|---|
| Remove old fixture | 3 minutes | 15 seconds |
| Clean table | 2 minutes | 1 minute |
| Place new fixture | 3 minutes | 15 seconds |
| Bolt down | 5 minutes | 0 (auto-lock) |
| Indicate position | 10 - 15 minutes | 0 (repeatable) |
| Set work offset | 5 minutes | 0 (pre-set) |
| Total | 28 - 33 minutes | 1.5 minutes |
That is a 95% reduction in setup time. On a shop running 3 changeovers per day, that saves over 1.5 hours of spindle time daily.
ROI for Production Shops
Zero-point systems are not cheap. A full setup costs $3,000 to $15,000. But the payback is fast if you do frequent changeovers.
Here is the simple math. Say your shop rate is $150 per hour. Each changeover saves 25 minutes. You do 3 changeovers per day, 5 days per week.
- Time saved per day: 75 minutes (1.25 hours)
- Money saved per day: $187.50
- Money saved per month: $3,750
- Payback on a $5,000 system: About 6 weeks
Zero-point only pays off if you change setups often. A shop that runs the same job for weeks at a time will not see fast payback. These systems shine in high-mix environments with 2+ changeovers per day.
Popular Zero-Point Systems
Several manufacturers make proven systems. Each has strengths depending on your machine and production style.
- Schunk VERO-S, Industry standard. Pneumatic. 0.0002 in repeatability. Wide range of module sizes. Used heavily in aerospace and automotive.
- Lang Makro-Grip, Combines zero-point with 5-axis workholding. The stamping unit grips raw stock from the sides. Great for 5-axis work.
- Jergens Ball Lock, Mechanical ball-lock design. No air lines needed. Simple and reliable. Good entry-level system.
- Erowa, Swiss precision. Popular in EDM and grinding. Sub-micron repeatability on their premium systems.
- System 3R (3Ruler), Another Swiss system. Strong in mold making and EDM. Modular pallets work across multiple machines.
Which System Should You Pick?
Start with your changeover frequency. If you swap setups 3+ times per day, a pneumatic system pays for itself fast. For occasional changeovers, a manual ball-lock system keeps costs down.
Also think about your machines. If you run the same fixtures on multiple machines, pick a system that lets you move pallets between them. Systems like 3R and Erowa excel at this.
Getting Started with Zero-Point
You do not have to convert your whole shop at once. Start with one machine. Pick the one with the most changeovers.
- Audit your changeovers. Track how many you do per week and how long each takes. This gives you baseline data for ROI.
- Choose your module pattern. Most shops start with 4 modules in a rectangular pattern. Match the pattern to your most common fixture sizes.
- Add base plates to existing fixtures. You do not need new fixtures. Bolt adapter plates with locating pins to your current vises and custom fixtures.
- Set work offsets once. After the first setup, save the offsets. They stay the same every time you reload that fixture.
- Expand from there. Once you see the time savings, add modules to your next machine. Build a library of modular fixtures on base plates.
Ready to cut your setup times? Get a quote and ask us about zero-point compatible fixtures for your parts.